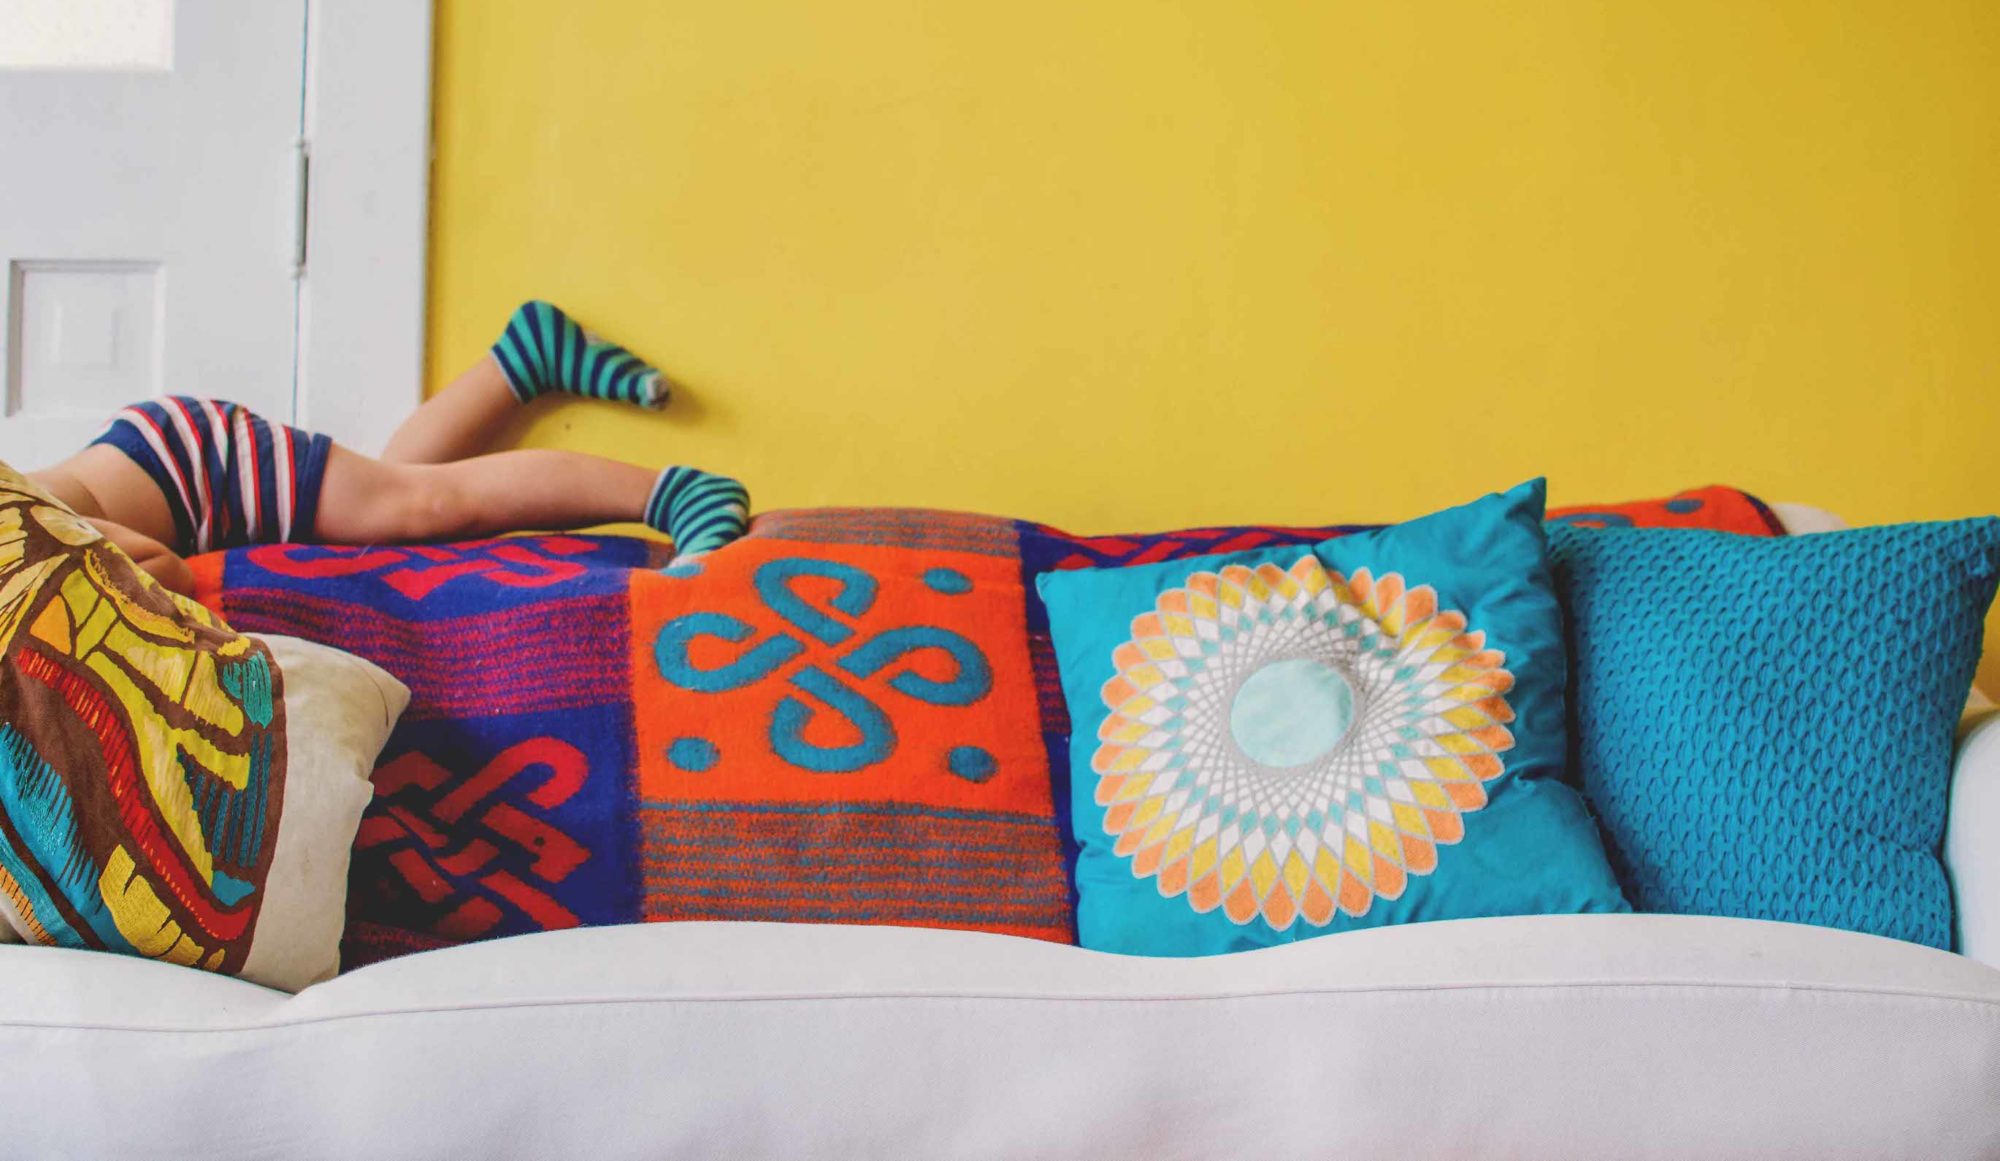
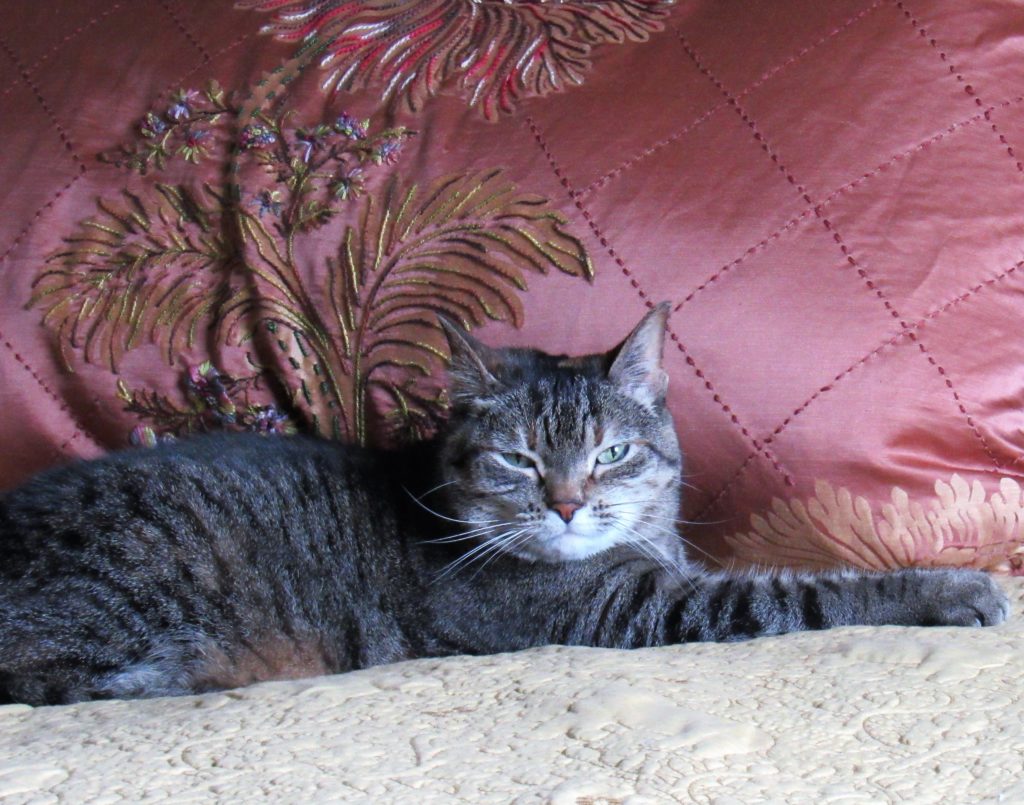
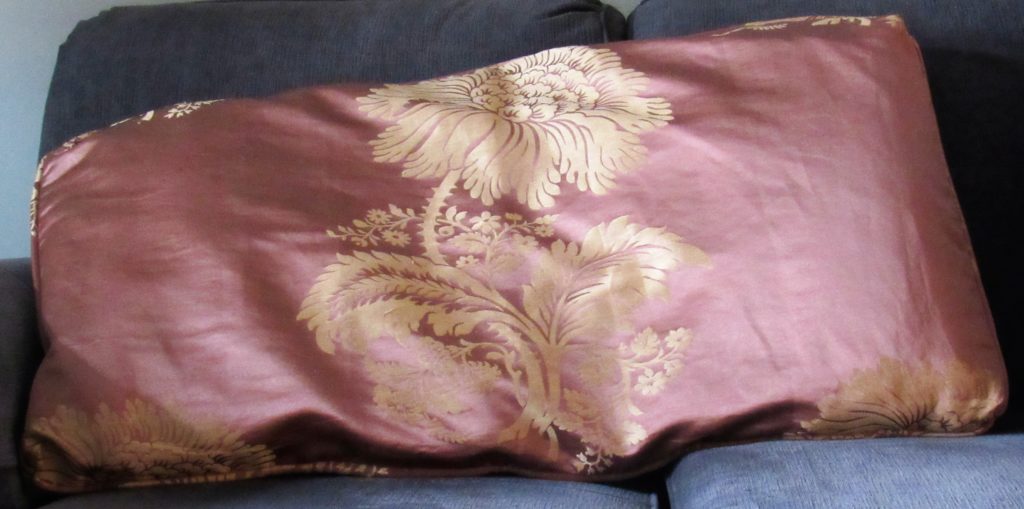
A few weeks ago, I shared the vintage silk brocade I sourced on ebay for the shams for my master bedroom, as well as my plan to embellish the fabric with embroidery. Well, now the shams are finished and adorning my bed. They provide a lovely backdrop for Miss Maisie’s afternoon snooze, don’t you think?
Remember the inspiration…
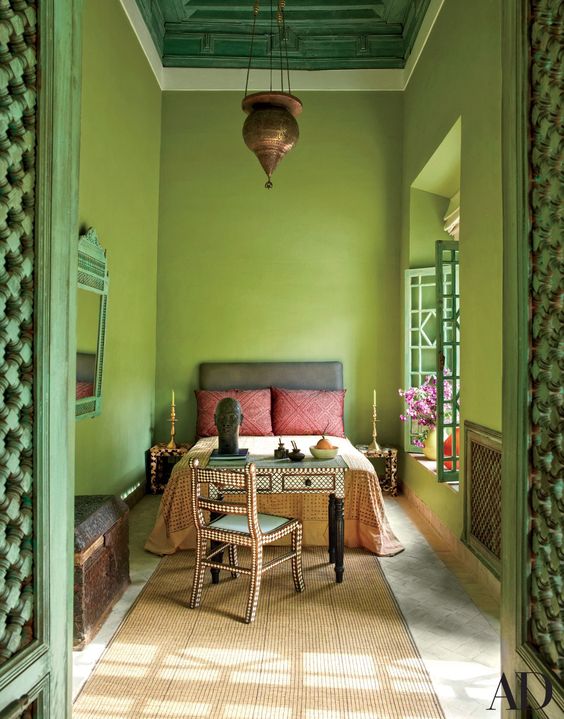
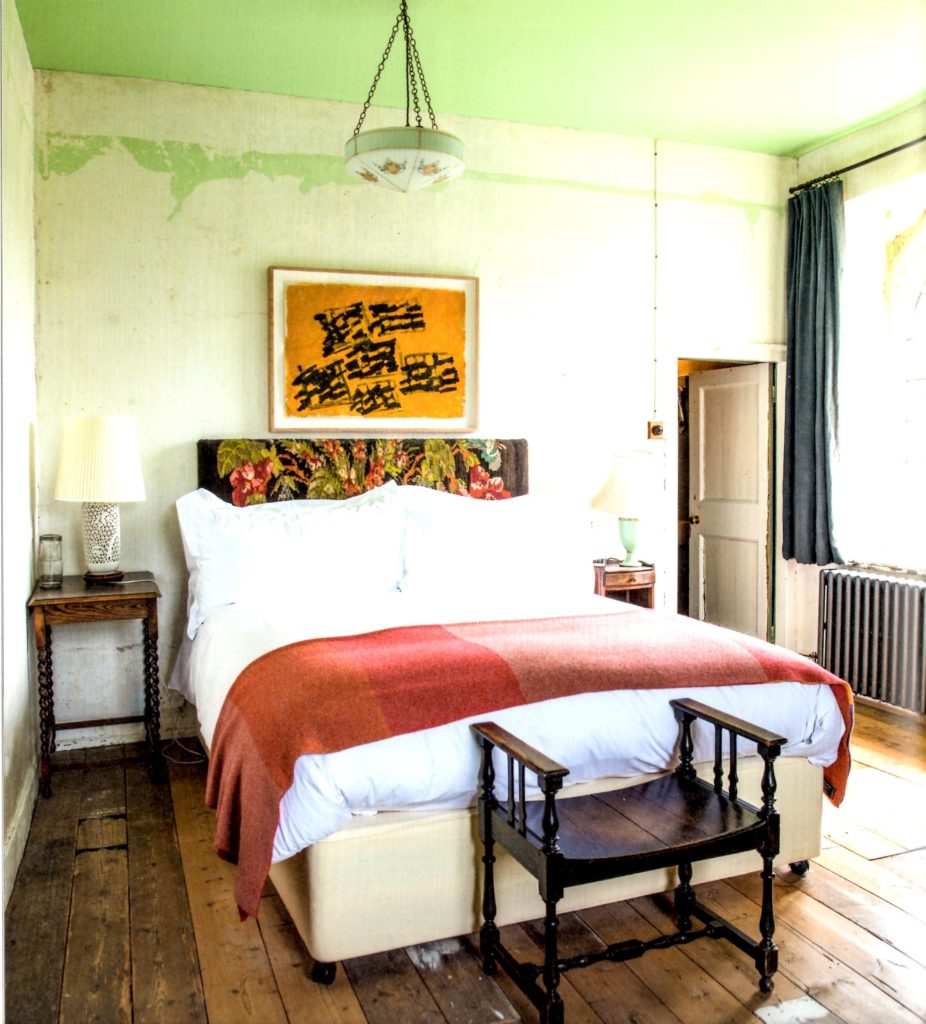
The bedroom on the left is the inspiration for my master-bedroom-refresh-in-progress, while the headboard in the bedroom on the right is what gave me the idea to embellish my sham fabric with embroidery.
Here’s how the finished shams looked before embellishment. Kinda white bread, huh? The pillow insert obviously needs to be fluffier as well.
My unembellished shams 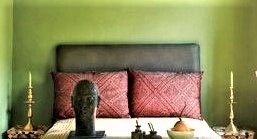
Inspiration room shams
Compare my shams to the inspiration room shams. My fabric color is a bit paler with a slight terracotta cast to it and is missing the diagonal elements present in the inspiration shams. Part of my thinking in deciding to embroider the central flower in each sham was to add some deeper rose color, a bit of green to tie in with the walls, AND to create a diagonal element.
Basic construction aids
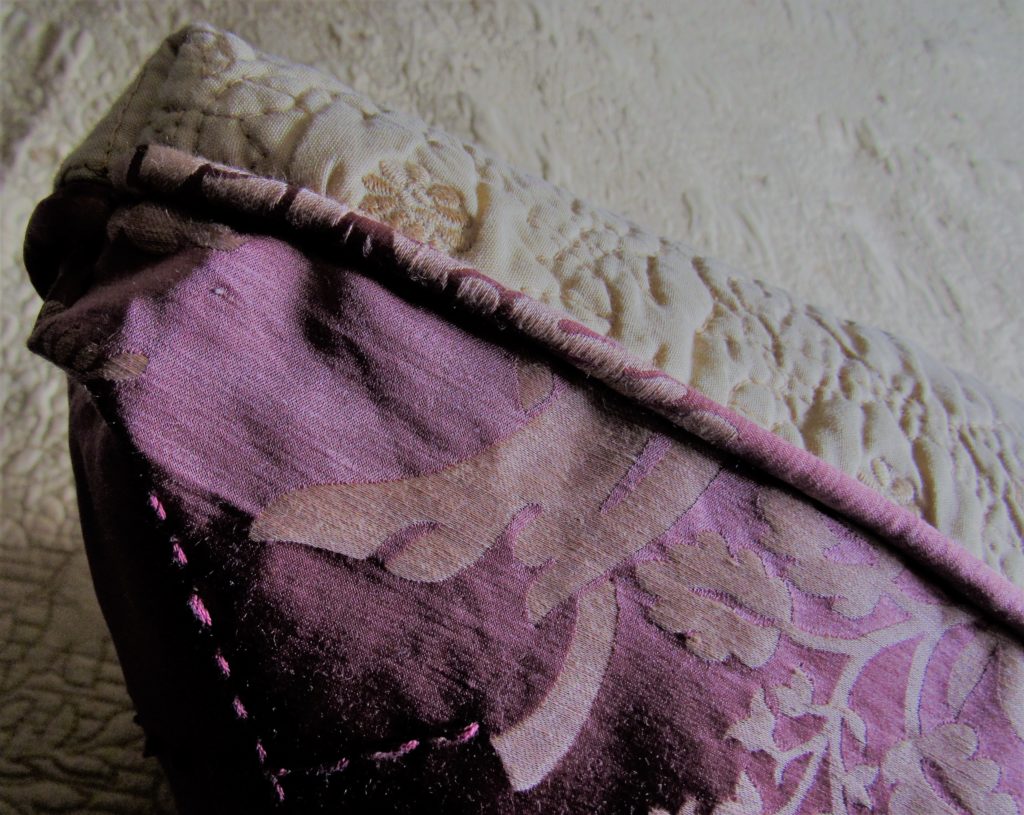
Because my fabric has a soft hand, I wanted to construct the sham to provide some needed structure. Though I usually make pillows with envelope backs, I chose to do an invisible zipper to help prevent center sag. I also wanted cording that matched the sham body, rather than contrast, and I wanted box corners to provide even more structure.
I made the cording by cutting strips of fabric 1.75 inches wide. My mother always taught me to cover cording with bias-cut strips–pieces cut on the diagonal of the fabric–because they would have more stretch in rounding corners. But I’ve found this isn’t really necessary, particularly if you don’t have enough fabric for diagonal cuts.
I then doubled the strips over the cotton cording and machine-basted about a quarter-inch in from the raw edge to hold the cord in place but prevent the basting from showing on the finished pillow.
Because I planned to box the corners, I cut lengths for each of four sides separately, crossed them at the corners, and cut out the cording (but not the cording cover) in the seam allowance that would add unnecessary bulk. I then machine-basted the covered cording pieces to the sham front, raw edges out and even with the raw edges of the sham front.
Finally I was ready to sew the zipper into the long bottom side, and that’s when befuddlement stopped me in my tracks. Honestly, I’ve sewn dozens of zippers in my life but none in the last 10 years or so, and I couldn’t remember how to do it! Happily, I found this video:
Once the zipper was in per video instructions (the second sham zipper looks a lot better than my first try!) I finished sewing the sham front to its back, right sides together. I used the zipper foot on my machine so I could sew close to the cording for a tight, neat edge. The long zipper (27 inches, purchased HERE) provided an opening for me to turn the sewn sham right-side-out.
Next came the boxed corners, which I’d never made before, so I found another video to help:
They turned out well, don’t you think?
Now it’s time to get fancy!
All the embroidery on these shams was done after they were sewn. I chose the embroidery threads by taking a small piece of my fabric to the store for matching purposes. I used mostly a border stitch and French knots, accented in places by satin stitches.
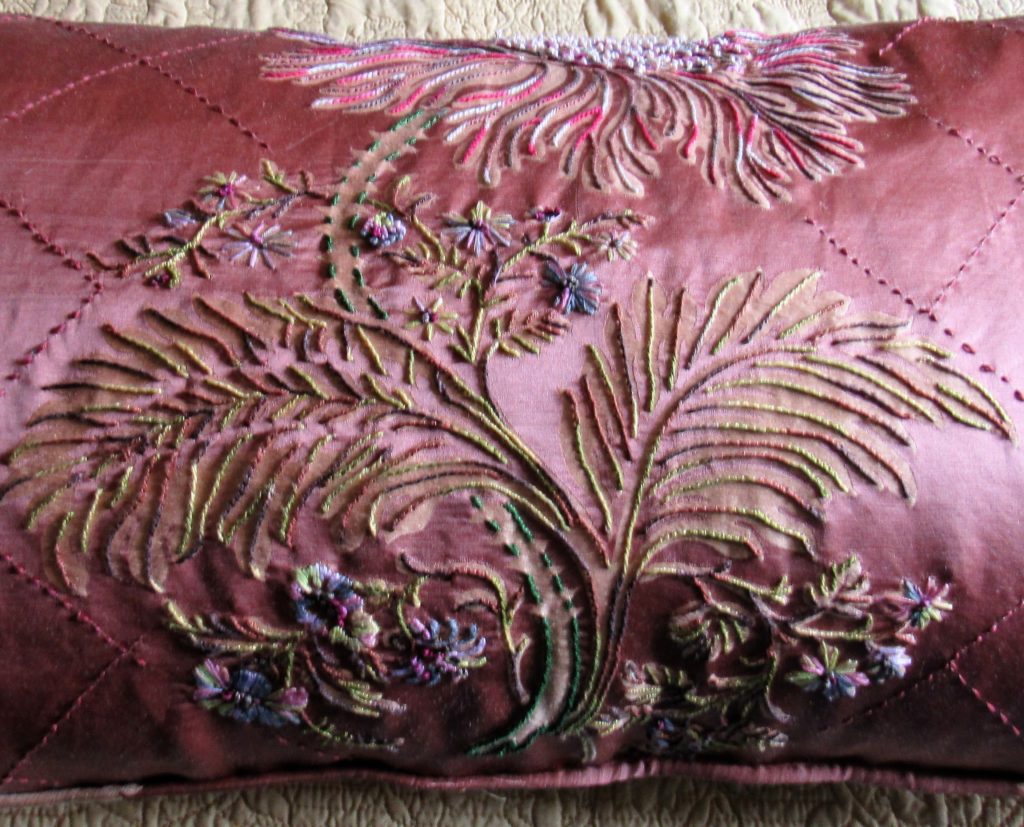
I had some solid green already to use on stem areas. But I wanted to dress up the leaves, so I chose a green/brown/gold variegated thread. The smaller flowers I did in a variegated thread of blues, pinks and greens, using another variegated thread with darker tones for the flower centers.
I like variegated threads because they add to a realistic look since nothing in nature is ever really one solid color, particularly when the light shines on it.
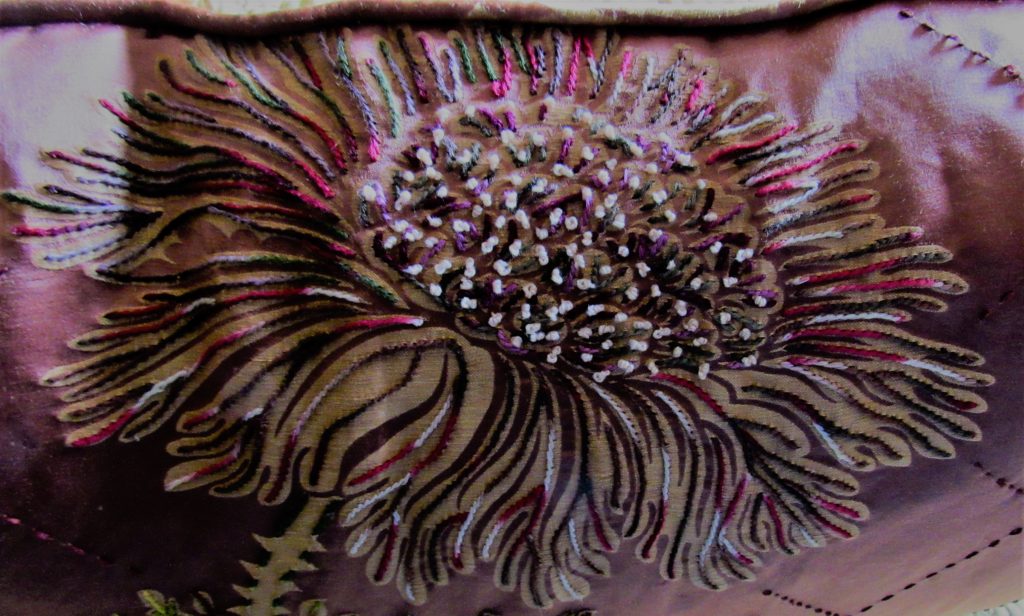
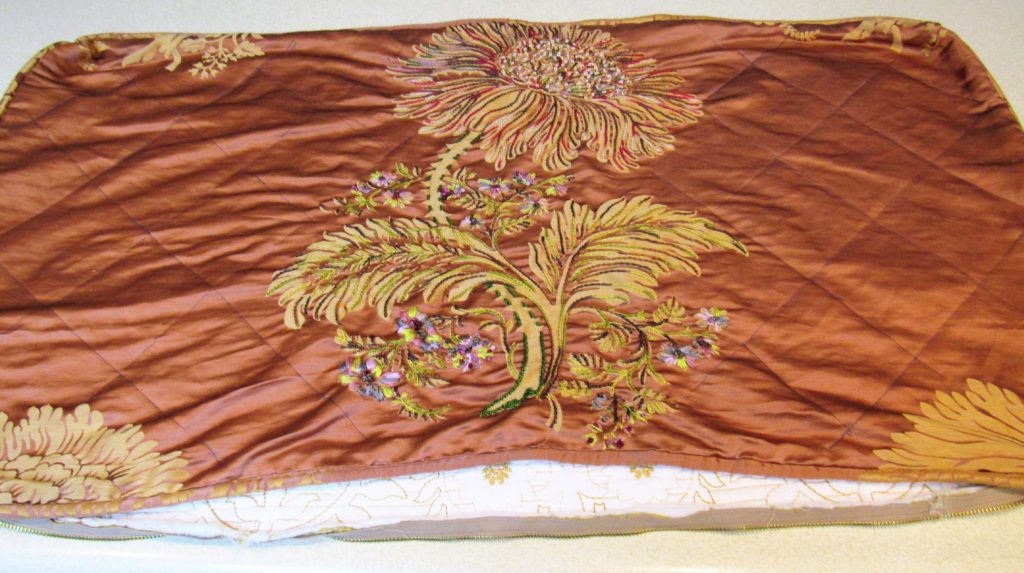
In the large central flower I wanted to emulate the play of light even more. So I chose a variegated thread with burgundy, pink, brown, green and ivory for the side you see in the foreground and the same thread minus the ivory for the background side and for the center. I added French knots in a solid ivory to the center to look like sunlit seeds forming as they do in the center of a real sunflower.
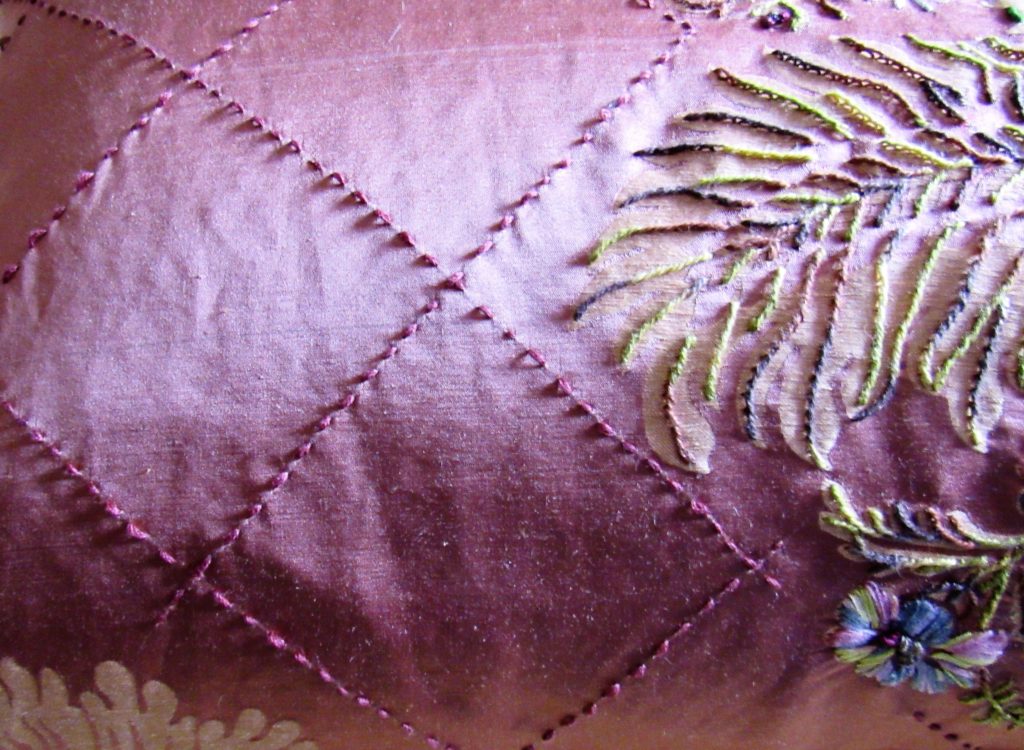
For the diagonals I wanted to add, I chose an embroidery floss just a smidge deeper in color than my fabric to create texture in a tone-on-tone effect.
How I laid out the diamond patterning
I added the diamond patterning only after I’d completed the rest of the embroidery.
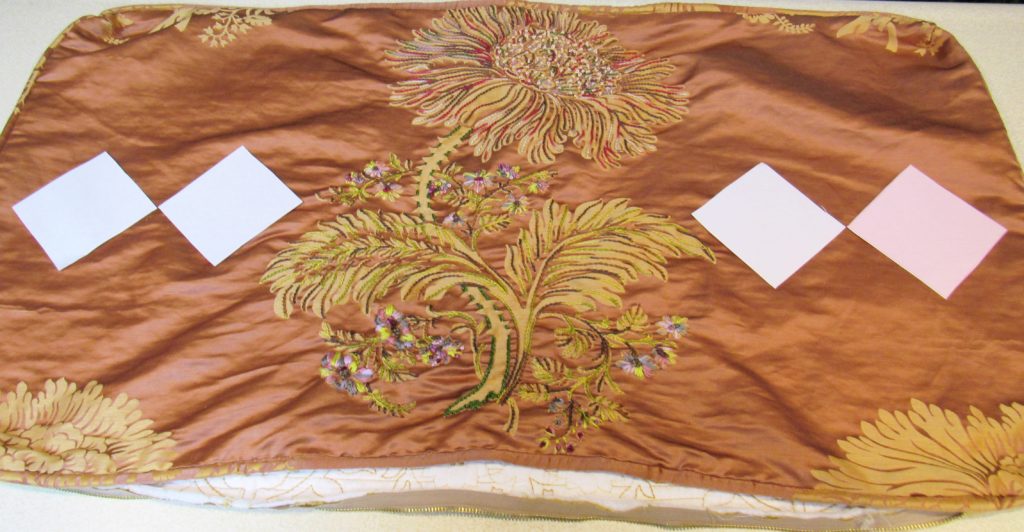
I started by making square patterns on my computer in various sizes, printing them and cutting them out. This helped me deterine that I wanted 4-by-4-inch diamonds. I then printed and cut out several in this size and laid them into line across the sham.
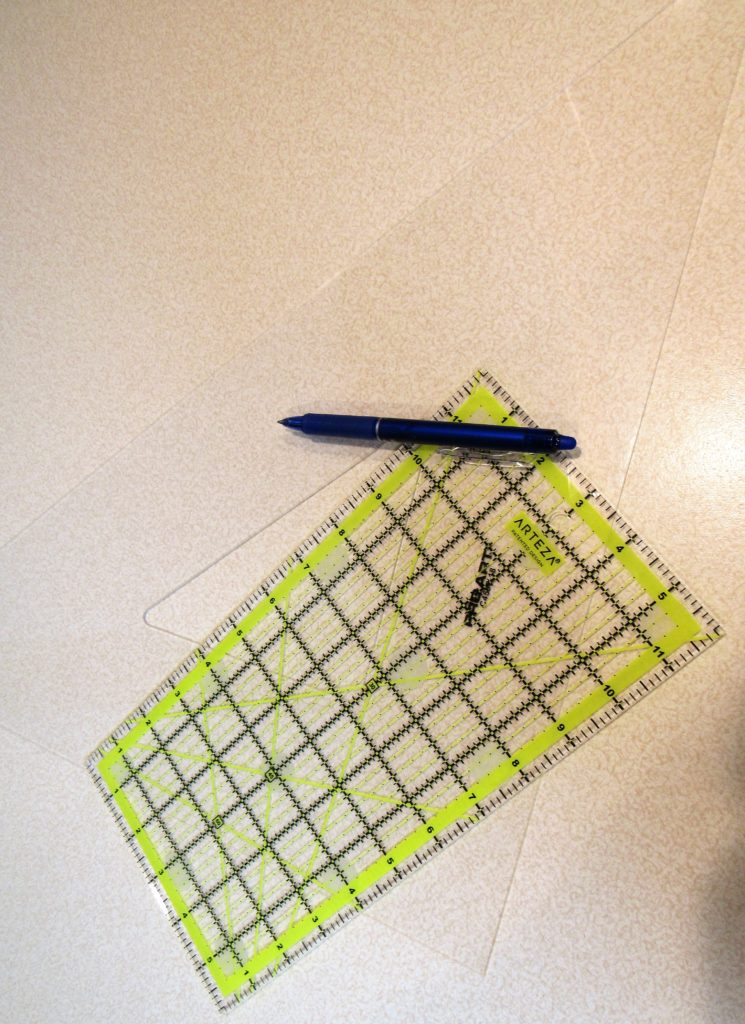
I then used a water/heat soluble pen, a quilting ruler, and an 18-inch drafting triangle to draw a grid on the fabric surface. (Follow the affiliate links to purchase these supplies.)
Note that I did not draw the grid over the top of any of the floral brocaded pattern. I wanted my diamonds to be in the background only.
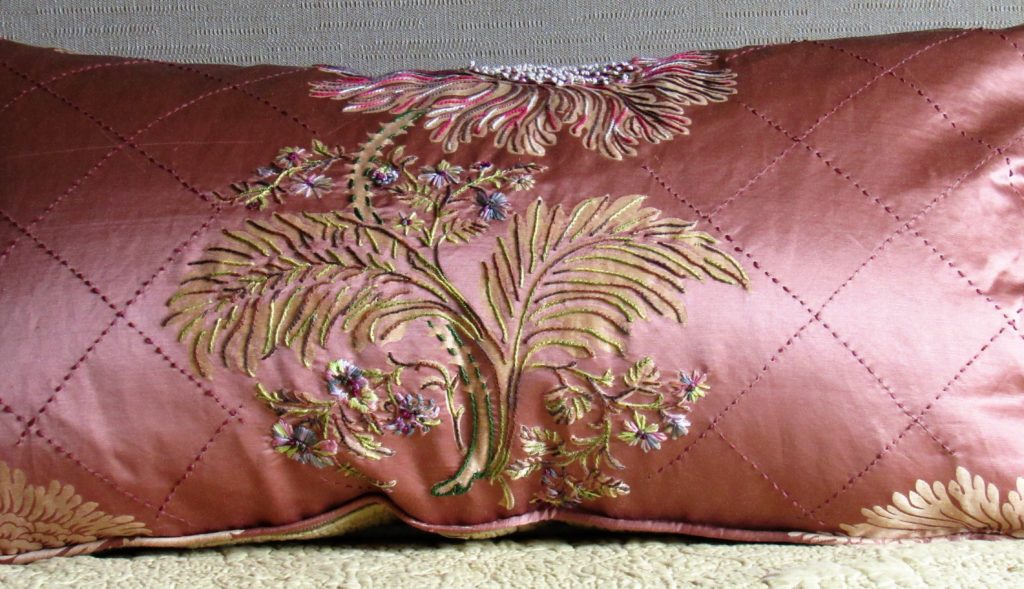
I used a simple running stitch on all the guidelines, then pressed the sham to make them disappear. Turned out pretty well, don’t you agree? The diamond patterning is, in my opinion, what makes the shams. That and the fluffy new pillow inserts I found at Tuesday Morning, two for $20!
And last I checked, the Maze-ster agrees! Such a spoiled kitty…
If you want more…
Check out my other posts related to this project:
- From Green with Envy to Green Pastures: How I Plan to Make This Room My Own
- WAY TO GO BOHO #8 / Moroccan Bedroom from Claudio Bravo Marrakech Home
- Call Me Green with Envy
Then trace the evolution of my master bedroom:
- Planning My Master Bedroom Refresh
- My Master Bedroom Refresh – Part 2
- My Master Bedroom Refresh Finale
- YAAAS! This. My Boho Bedroom. Pronto.
- Boho to Bed with Birds-Eye Inspiration
- A Spring Refresh (& a Wish Come True) for the Lawson Bedroom
- Powder & Primp with My Craigslist-Find Dressing Table
- Snuggle Up(date) for a Sizzling Summer
