

Thanks to the Coronavirus, I’m two paint cans closer to getting our master bedroom painted a serene medium-green. Garden of Paradise green, to be exact, which is a fun choice since we live on Paradise Court!
Bumps on the road to color paradise
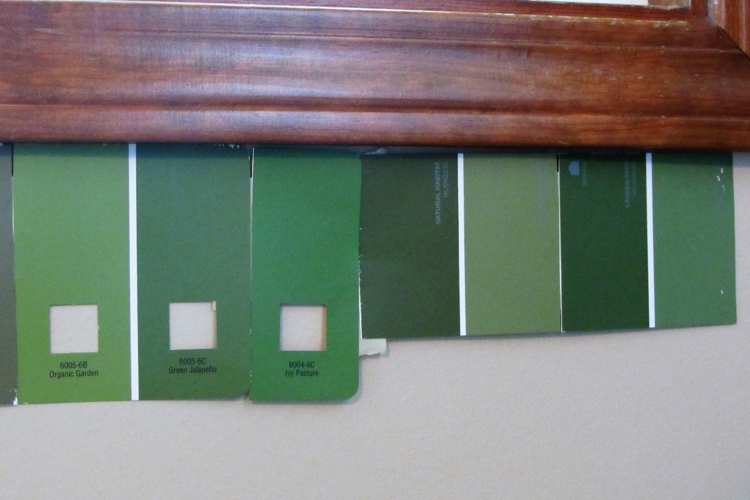
For weeks we had chains of paint chips taped to our walls as we struggled to see all those greens in the gray light of an Indiana winter. When I first pressed Chris to help me narrow the field, he pointed to the square cutout in a chip where the current wall color showed through, and said, “I like that color right there.”
Very funny, hon, but that’s no longer an option.
We both laughed, and I figured now that he had that off his chest, in a few days I could move him into the wonderful world of color.

Turns out I was right. We narrowed our choices to about six and from there to one. No, not Garden of Paradise, but something called Bullfrog. We liked it better than the other remaining choices, but to be sure I needed to see more of it. So I went back to the hardware store and brought home more Bullfrog chips, which I taped together and stuck to the wall.
While at the hardware store, a couple other shades of green caught my eye, so I grabbed multiples of those chips, too, and taped them up next to Bullfrog in our room.
Bullfrog Garden of Paradise
One of them was Garden of Paradise, and we liked its slightly lighter shade, as well as its grayer undertones–a bit tough to see on a computer monitor, but trust me, they’re there.
Why do I say I have the coronavirus to thank? Well, just before cases started showing up locally, we decided painting would give us a staying-at-home project. Our daughter also wanted our help in picking out paint for two rooms at her house, so it seemed logical all the way around to suggest we go ahead and buy OUR paint, too, since we knew we would soon be staying home a lot. No, more than a lot–all the time.
The paint isn’t ON the walls yet, mind you, but we bought it and other supplies needed, so that’s half the battle.
Back to the inspiration room…
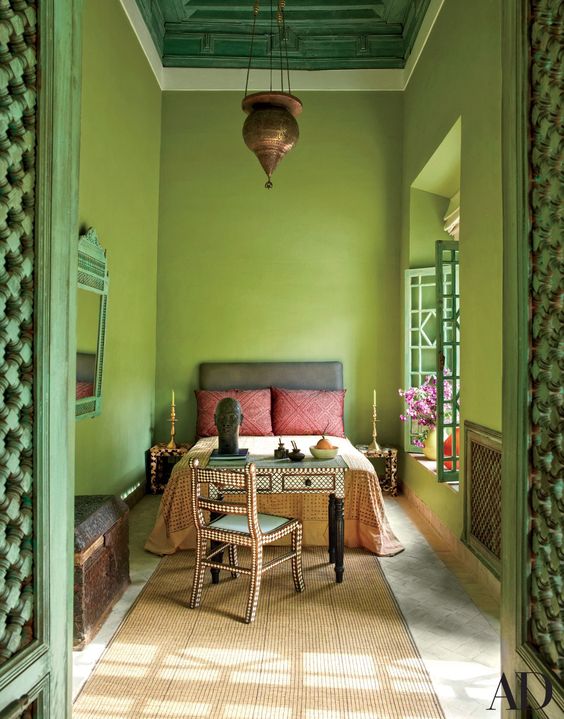
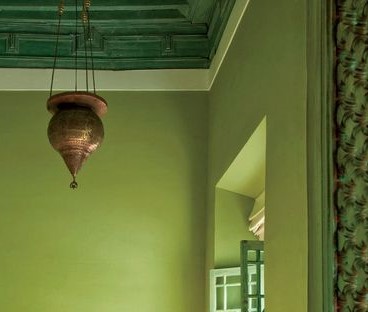
Remember, my inspiration for this room is the guest room of the former home of artist Claudio Bravo in Marrakech, Morocco.
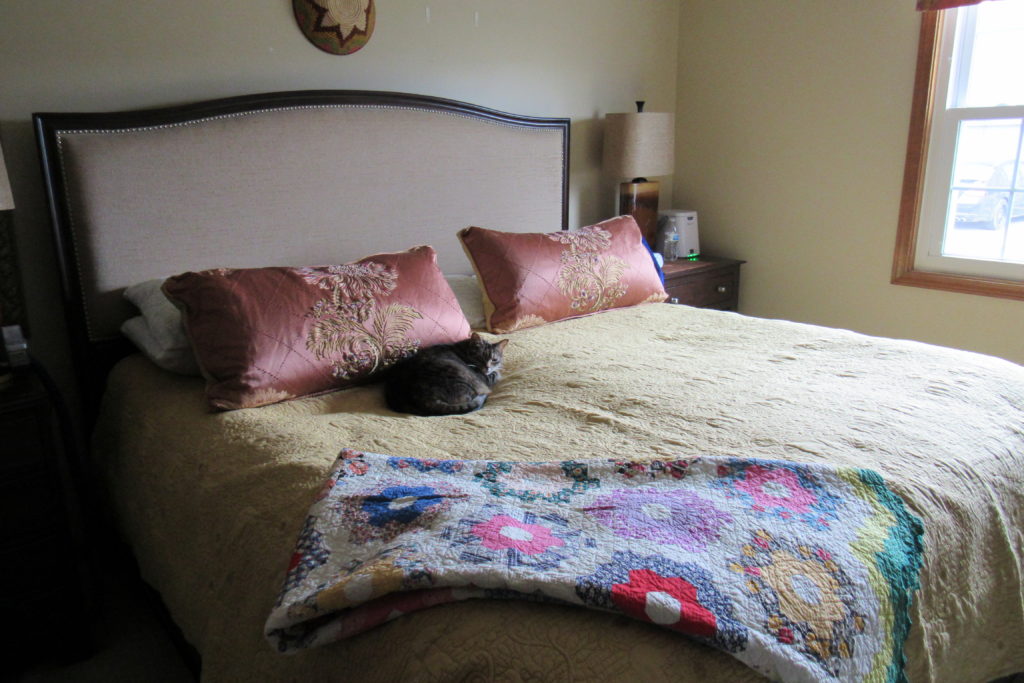
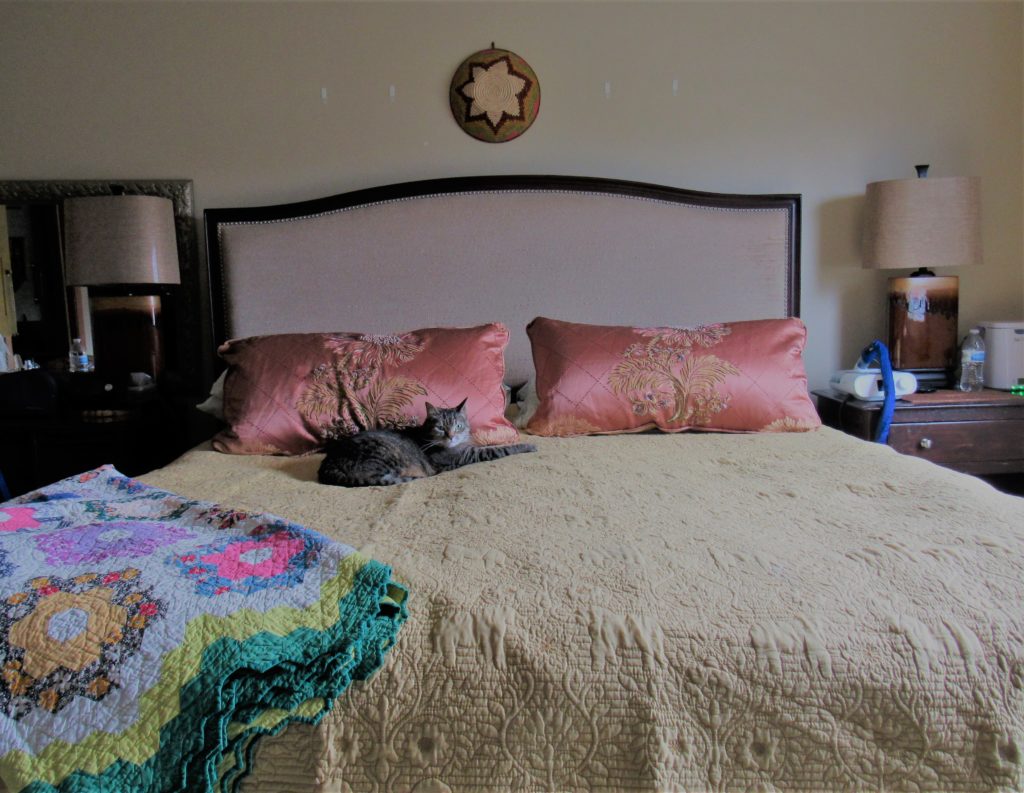
To help finalize the color choice, I dressed my room in items already purchased, made or owned.
So not only is my bed dressed in the gold Ink & Ivy quilt, but I finished the bed shams. Read more about that process HERE.
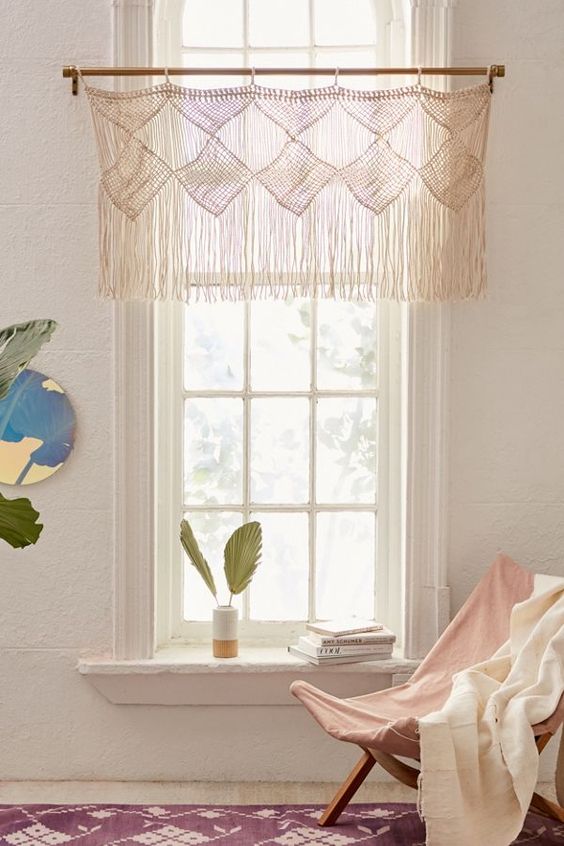
I had purchased the window treatment I’d decided on, the Harlow Macrame Valance from Urban Outfitters. And though I hung it when I first got it and thought I liked it, when paired with the new bedding I hated it.
Thankfully, UO has free and easy returns so I wasn’t out any money. But what to do for a window topper? I didn’t have enough of the fabric matching the shams to do a straightforward valance because of the large pattern repeat, which wouldn’t transfer all that well to a valance anyway.
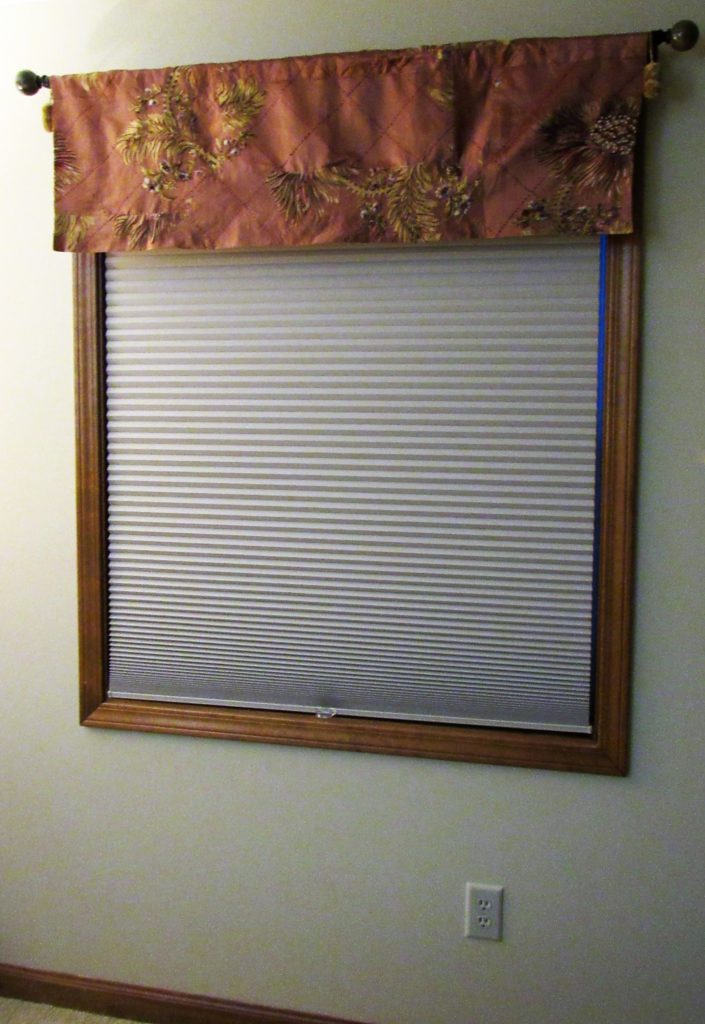
So I decided to cut what fabric was left into rectangular pieces and sew them together as a random patchwork.
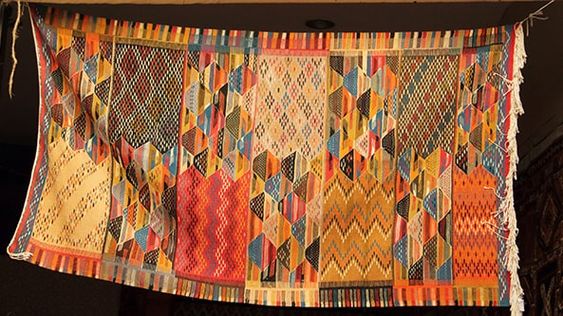
I got the idea from this Moroccan window valance I saw on-line.
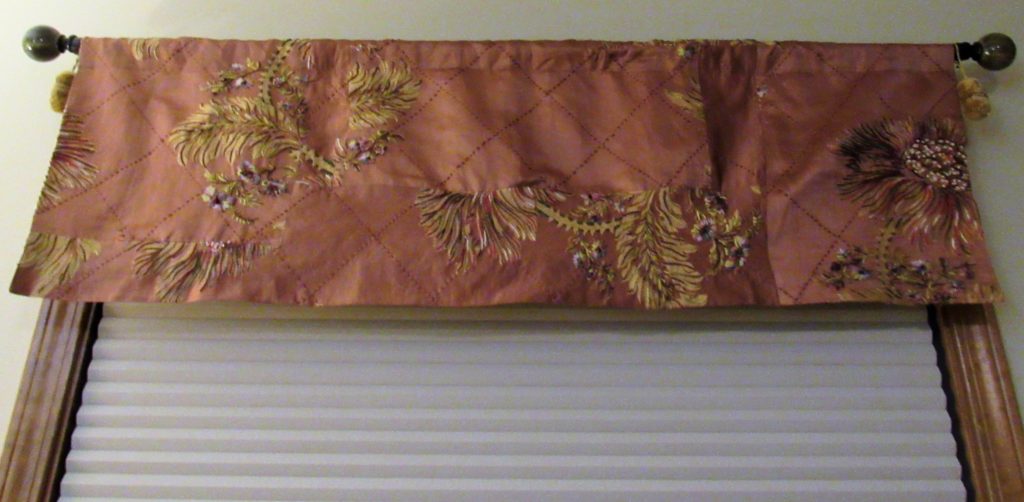
I embroidered the segmented leaves and flowers to complement the pillow shams. I put a lot of time and effort into it, and it works well enough, but I’m not over the moon with it. I’m reserving judgment until after the green goes on.
I’m actually hoping I’ll be a LOT happier with my choices once the green paint goes on because right now the room has no cohesion and I’m worried. All the new textiles look good together, but the current beige wall color does NOTHING for them. So here’s to hoping Garden of Paradise lives up to its name!
Playing with accessories
So far, I have…
-1-
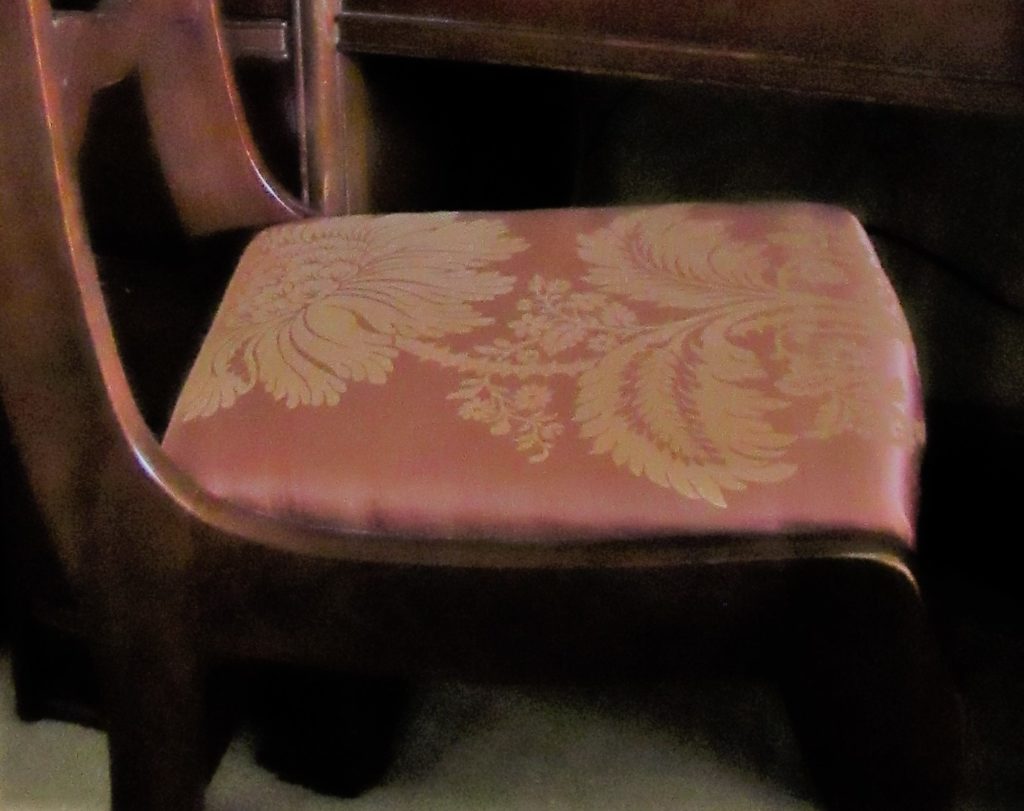
Recovered my dressing-table chairseat to match the shams (sans embroidery and with help from Chris).
-2- & -3-
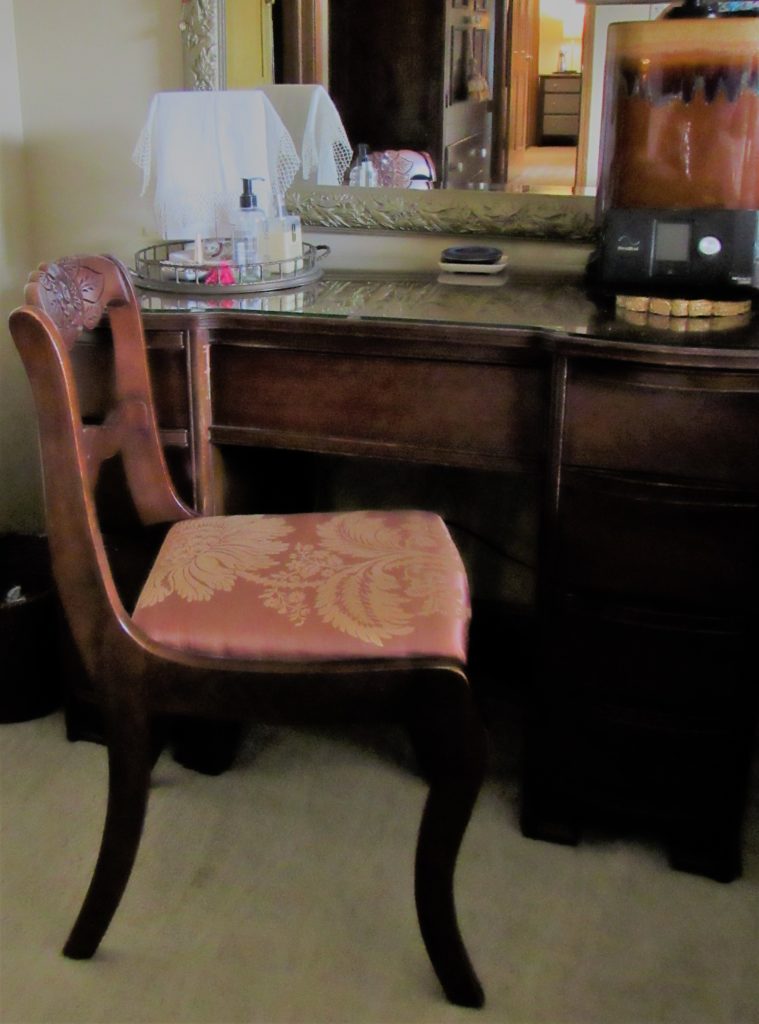
Replaced my wood dressing table tray with a vintage brass one more in keeping with the inspiration room and bought materials to give the mirror a faux verdigris finish. (another trapped-at-home project). The tutorial I found on Youtube suggests starting with hammered copper spray paint, then knocking down the gleam with watered down craft paint in a verdigris color. That will be an entire post in itself when I finally tackle it!
-4-
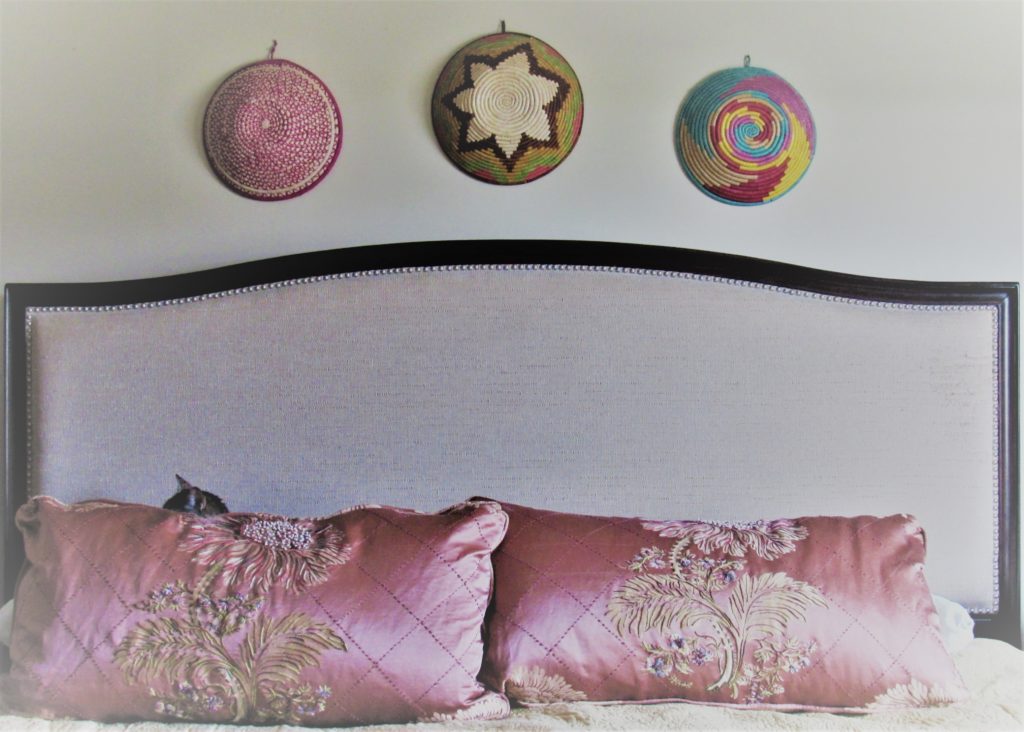
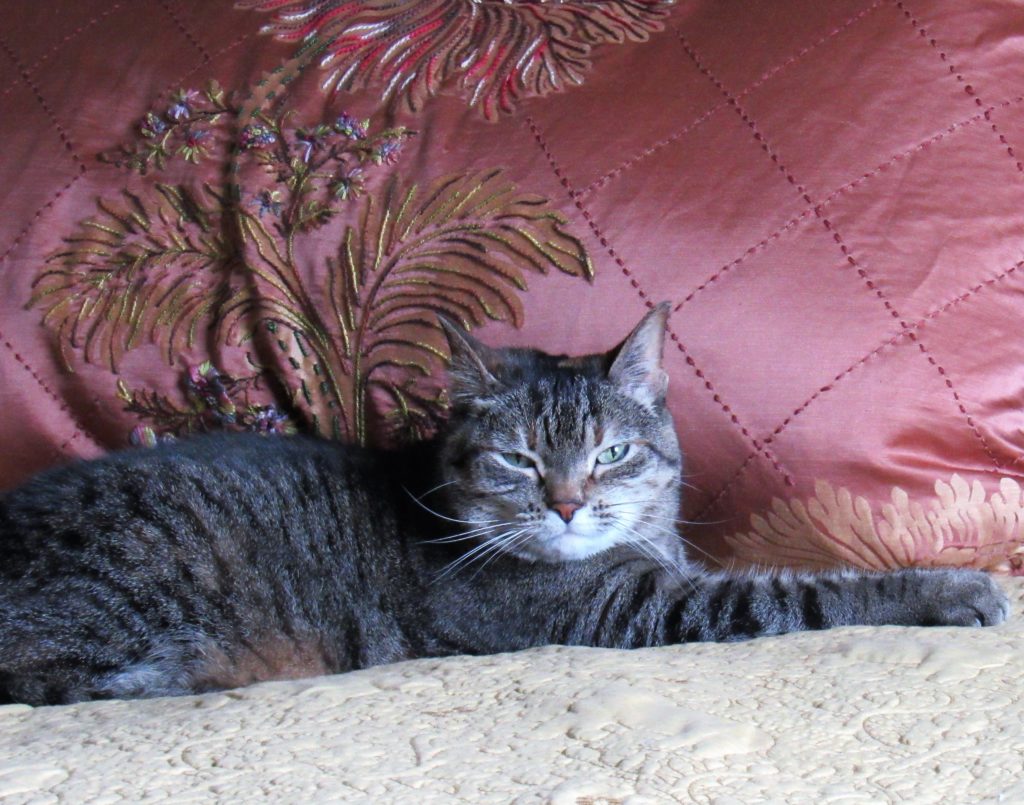
Taken down the art over the bed and replaced with African baskets I already owned. I like their simple lines and pops of color. (Yes, that’s Miss Maisie’s head peeking out from behind the left sham. Sleeping on top of the pillows behind it is one of her fave spots!)
-5-
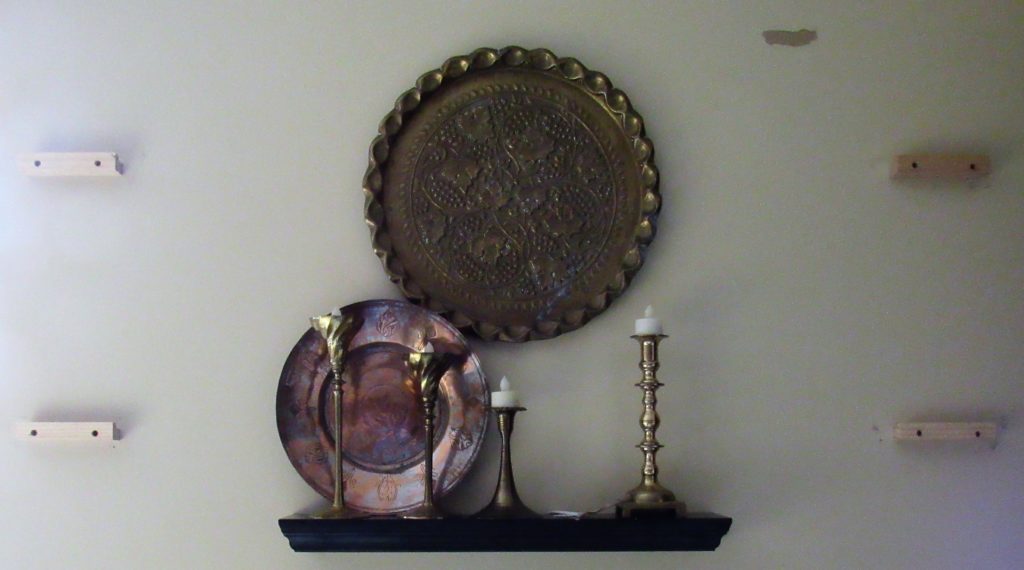
Changed out wallhangings to the right of the window. I removed two small shelves on each side of the larger shelf to simplify the look, though I still need to remove the mounting brackets and fill holes before we paint. Then I hung a vintage brass plate over the larger shelf, and accessorized with vintage brass candleholders and an antique Turkish copper plate–all scavenged from my Etsy shop stash.
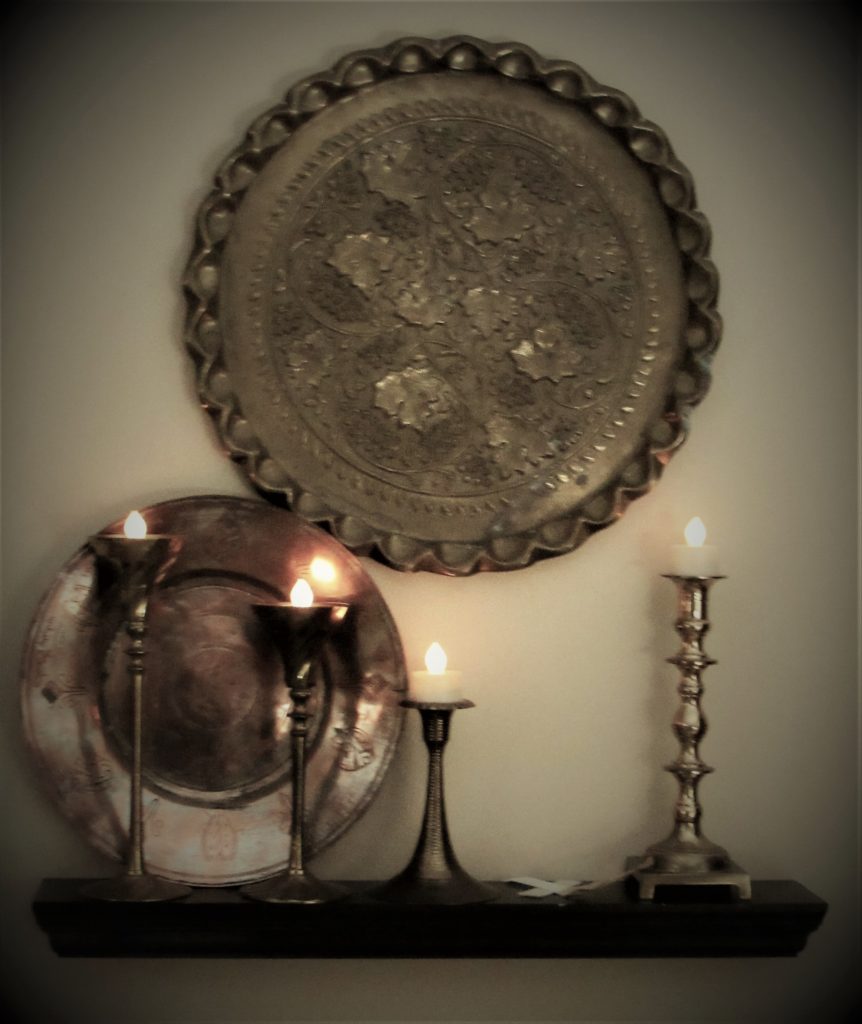
Battery-powered flickering tealights on timers give the room a bit of ambience at night.
-6-
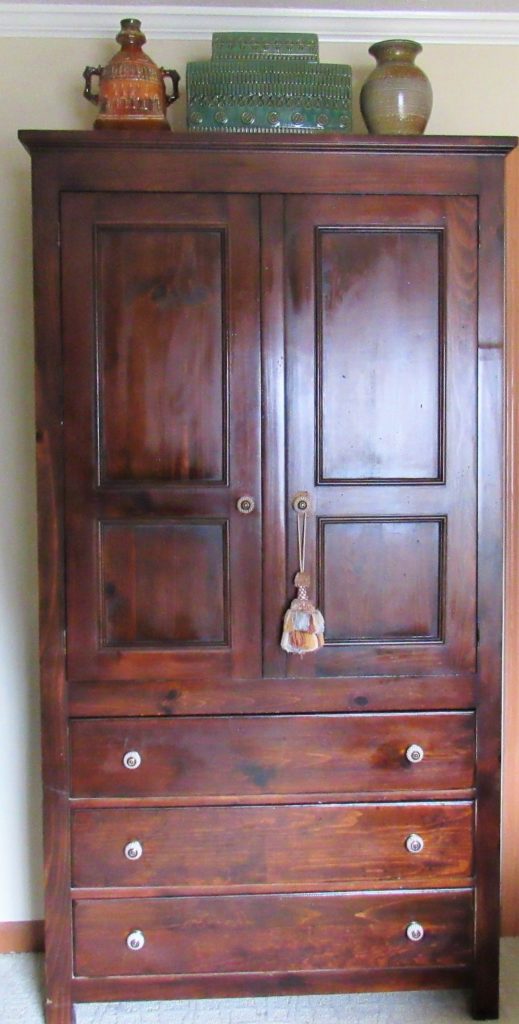
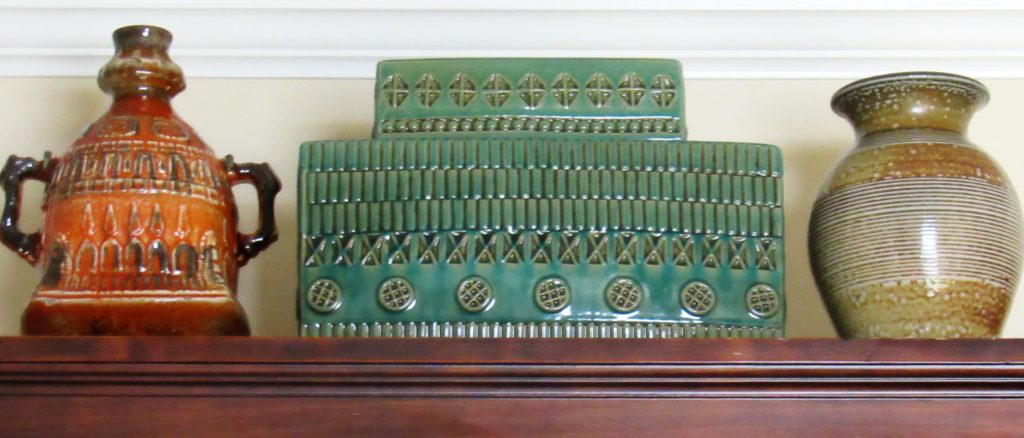
Changed out most of the pottery on top of the armoire to simplify the look. The temple jar in the center I’ve used before. The two Fat Lava era pots flanking it are from my Etsy shop.
-7-
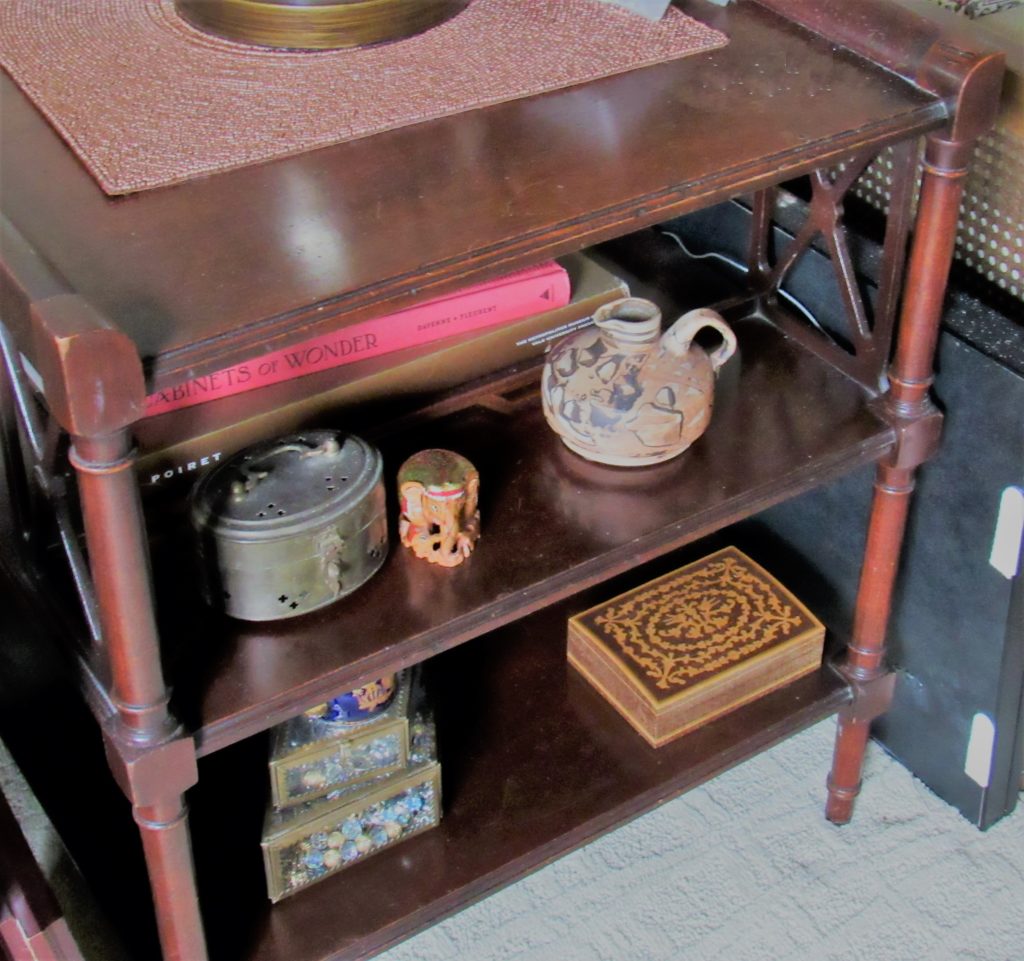
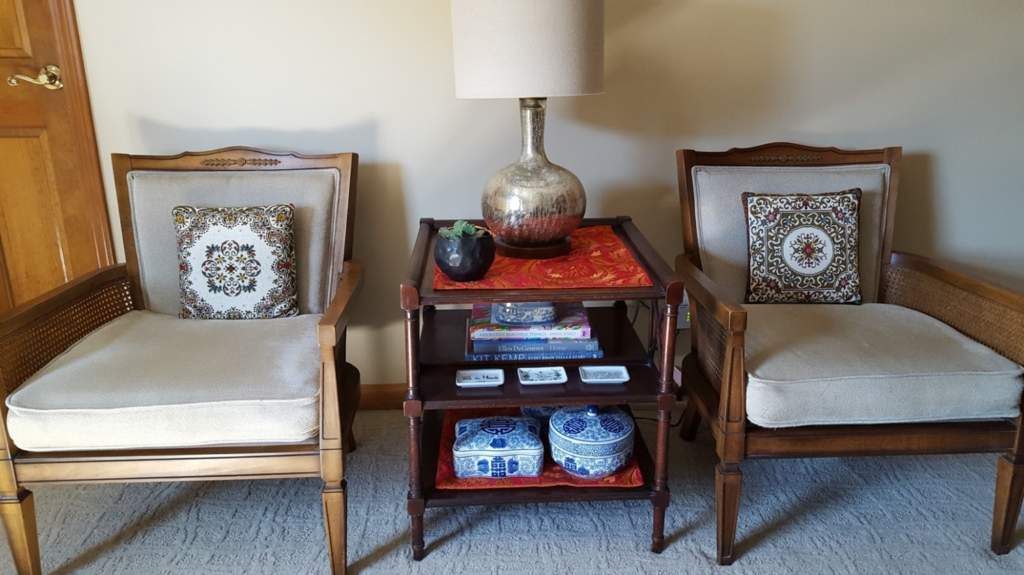
Played around with accessorizing this occasional table that sits between two chairs opposite the foot of the bed.

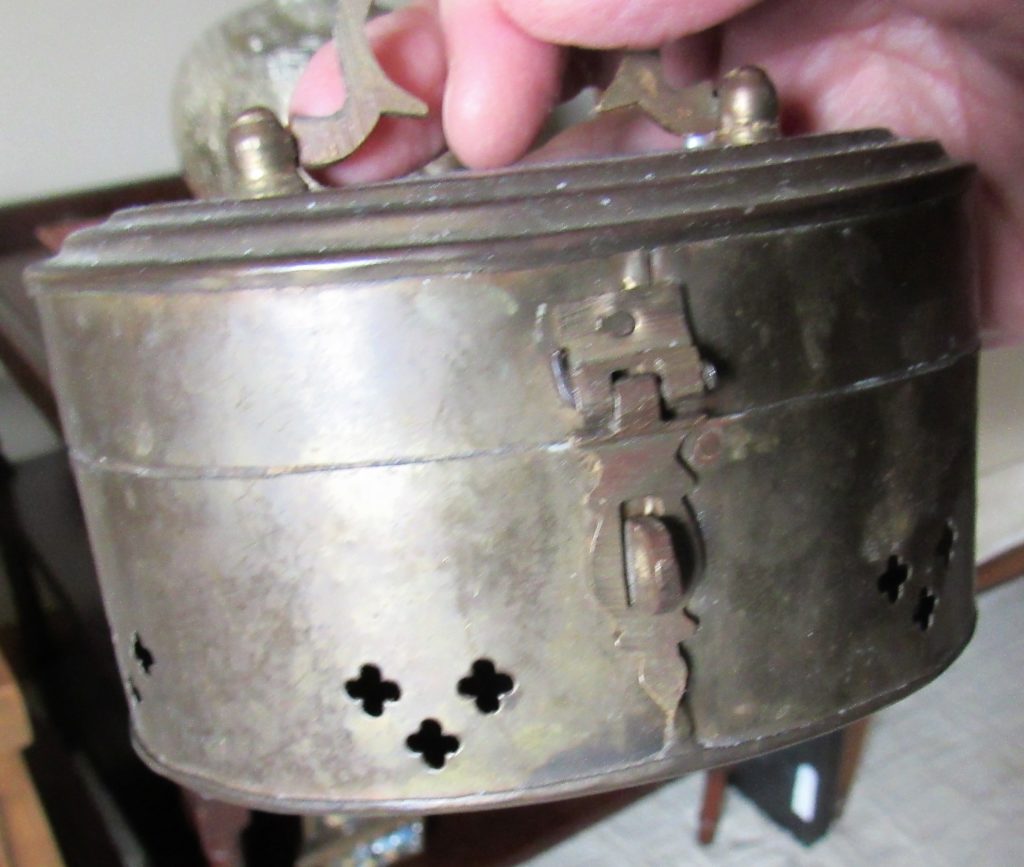
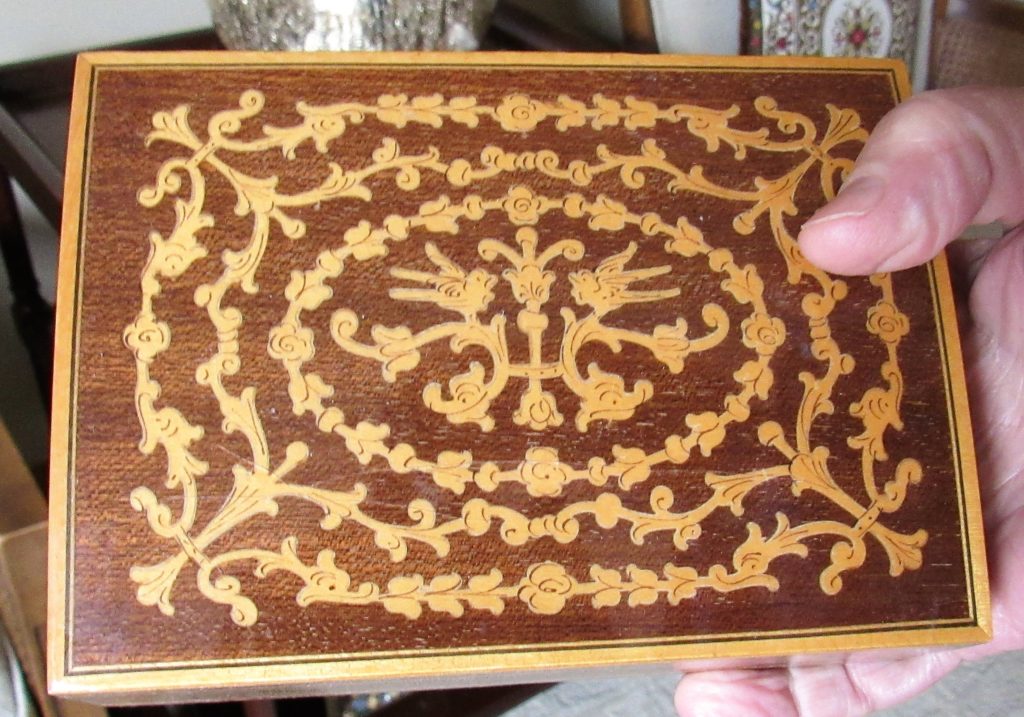
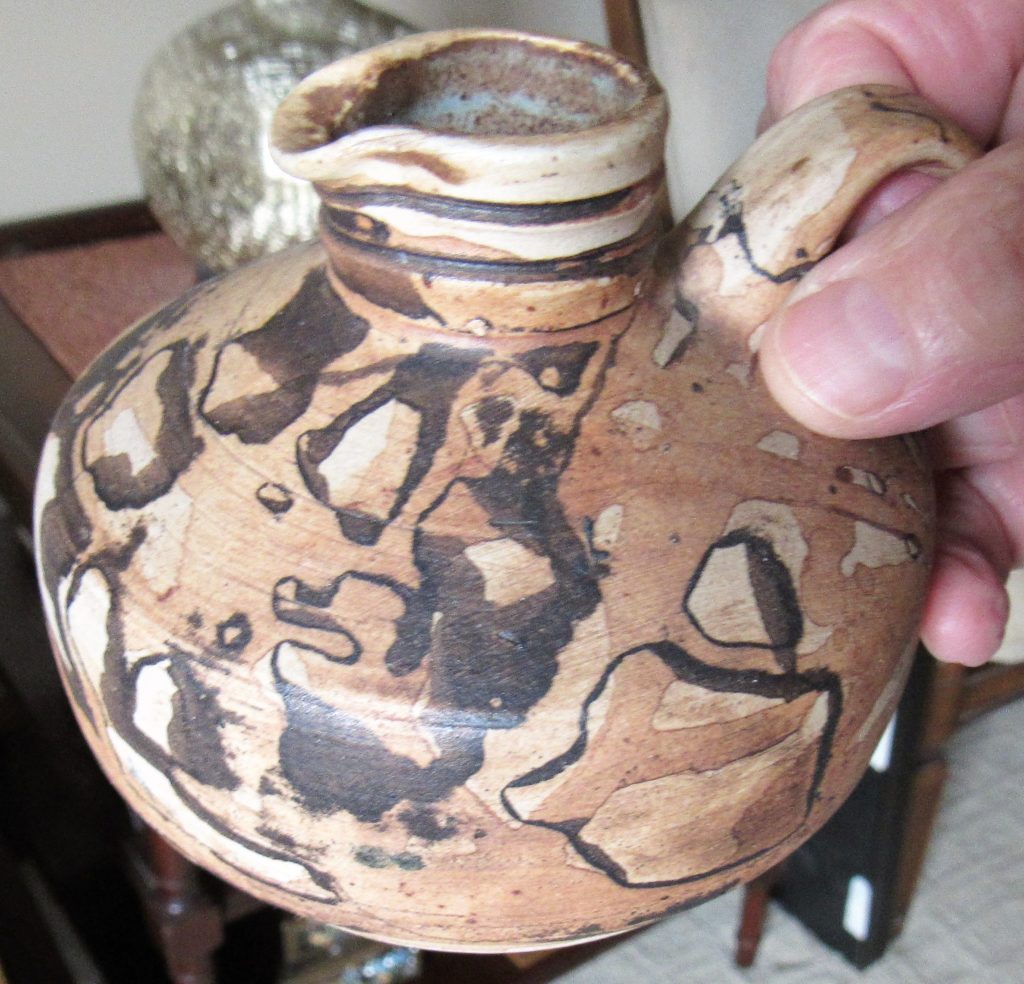
I like these items–also scavenged from my Etsy shop stash–but I need to work more on the arrangement.
So what’s next?
Besides painting, that is–the big GREEN elephant in the room.
Clearly, my current lamps have to go. But I don’t want to buy anything else until the paint is on. My daughter has two smaller bedroom lamps with a hammered copper finish that she may give to me if she decides not to use them in her home office.
I’ve always liked those lamps and if, after painting, I like how they look in my room, I may use both on my dressing table. I need more light there, and each can use a 100-watt bulb to give me 200 watts instead of the 150 I’m getting from my current lamp.
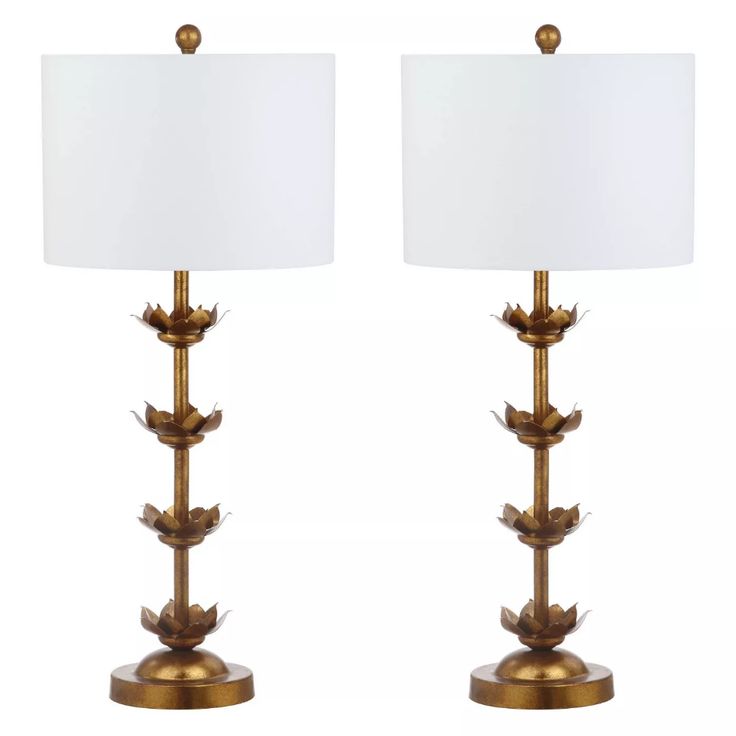
Then I would probably buy the Safavieh brass lotus petal lamps to use on Chris’ nightstand and on the occasional table under the television.
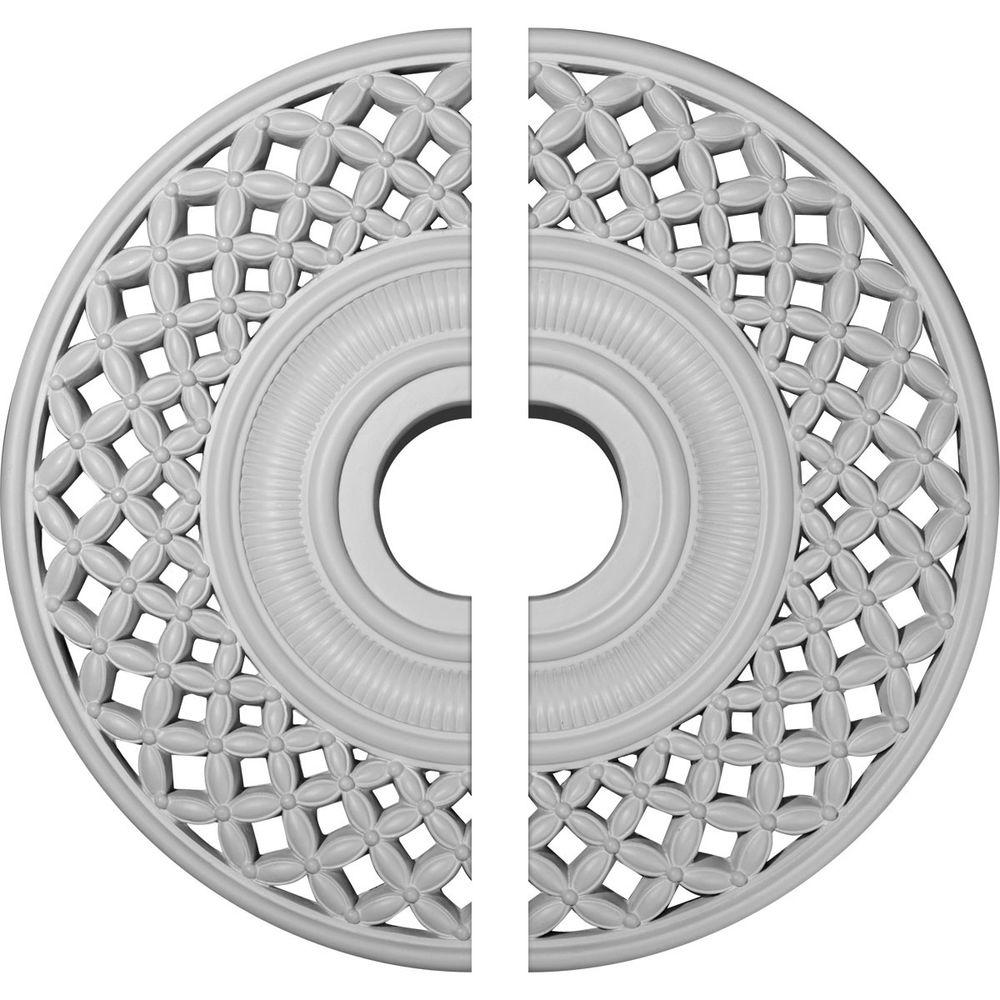
I also found this interesting Robin Urethane Medallion from Ekena Millworks that might look cool surrounding my ceiling fan. It’s about 22-inches in diameter and is available for $43 through the Home Depot website.
In all the hours spent gazing at my inspiration room, it finally occurred to me that the room is spare on accessories to draw attention to the ornate ceiling. My ceiling is, however, a traditional eight feet, so it couldn’t handle anything as elaborate (neither could my budget). But maybe this medallion would look cool around my ceiling fan, painted in faux verdigris as well.
Again, I’ll decide after the paint goes on the walls. This green has a lot of hopes and dreams (and more than a little pocket change) riding on it. But nothing is ever easy, is it?
Even in paradise. Just ask Adam and Eve.
If you want more, which, of course, you do…

Check out my other posts related to this project:
- More Green with Envy: How I Made & Embellished King-Sized Bed Shams
- From Green with Envy to Green Pastures: How I Plan to Make This Room My Own
- WAY TO GO BOHO #8 / Moroccan Bedroom from Claudio Bravo Marrakech Home
- Call Me Green with Envy
Then trace the evolution of my master bedroom:
- Planning My Master Bedroom Refresh
- My Master Bedroom Refresh – Part 2
- My Master Bedroom Refresh Finale
- YAAAS! This. My Boho Bedroom. Pronto.
- Boho to Bed with Birds-Eye Inspiration
- A Spring Refresh (& a Wish Come True) for the Lawson Bedroom
- Powder & Primp with My Craigslist-Find Dressing Table
- Snuggle Up(date) for a Sizzling Summer
