
Before we start, I must tell you I did not come up with this idea on my own. I found it on a Google search for gift embellishments and put my own stamp on it.
I originally intended to make up a bunch of these and use in this very way, but by the time I got around to making them, I’d already wrapped and decorated most of my gifts. Mostly I love my gift-wrapping efficiency, but sometimes I can be in too much of a hurry. I should have waited because these were so fun to make and are really, REALLY cute.

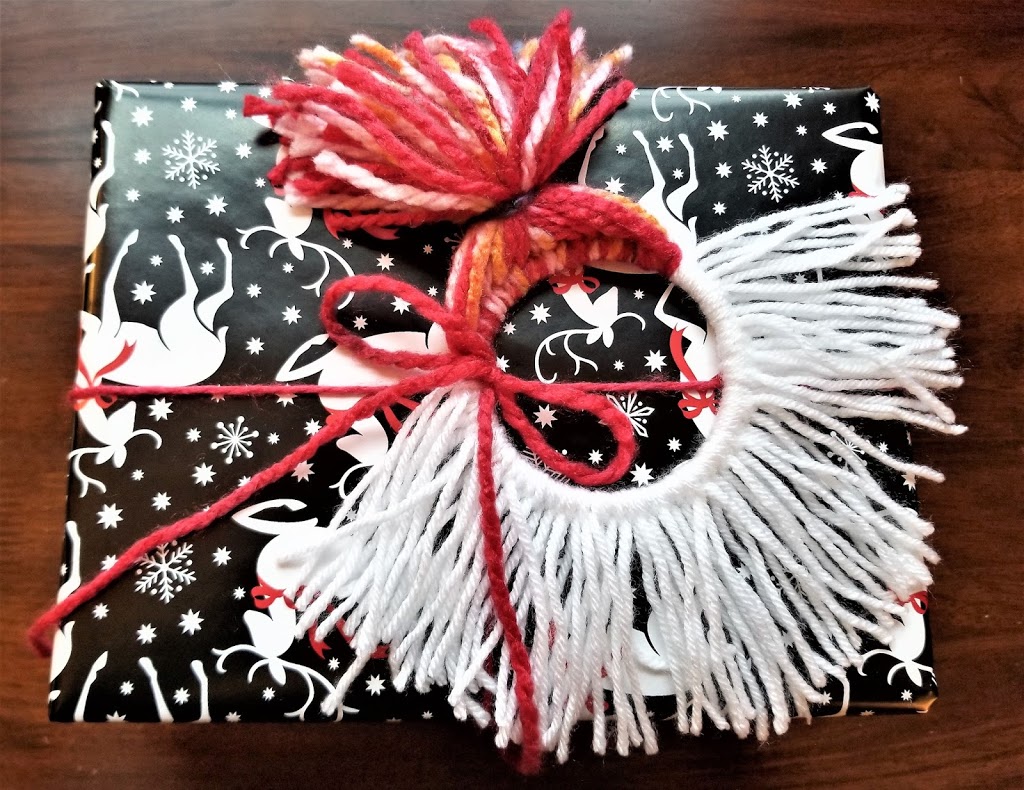
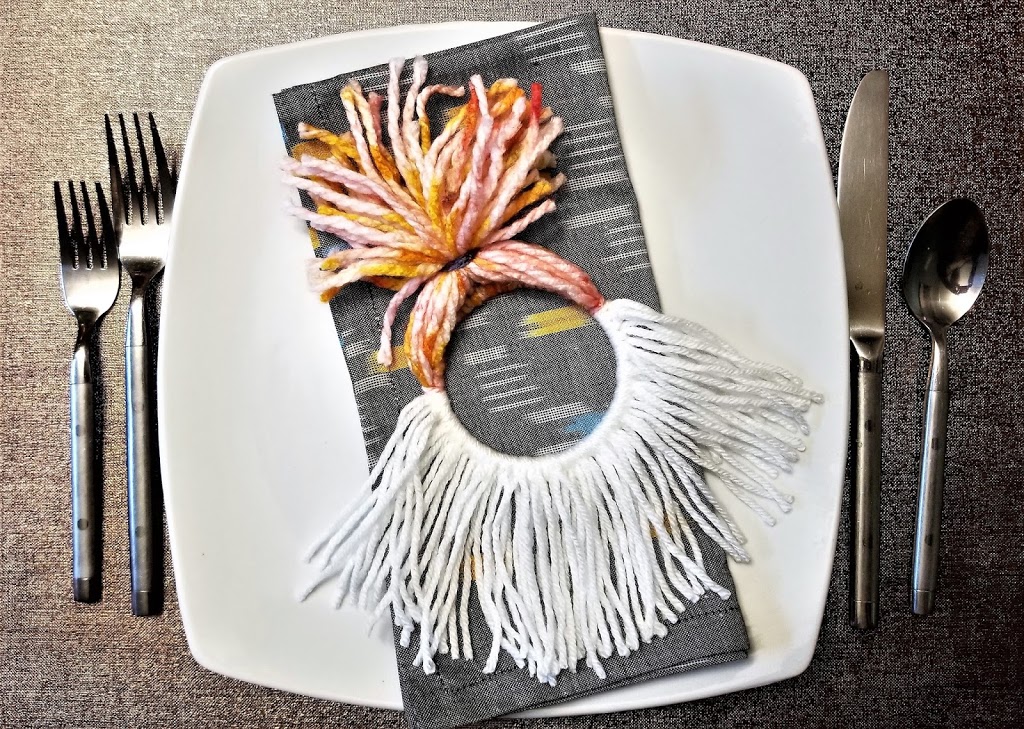
So packages aside, I decided to use them as Christmas Day dinner table favors instead to lend a bit of panache to my non-traditional color scheme. They’d also be cute as tree ornaments or hanging in windows or on doorknobs! And they’re a great way to use up leftover yarn.
Here’s what I started with…
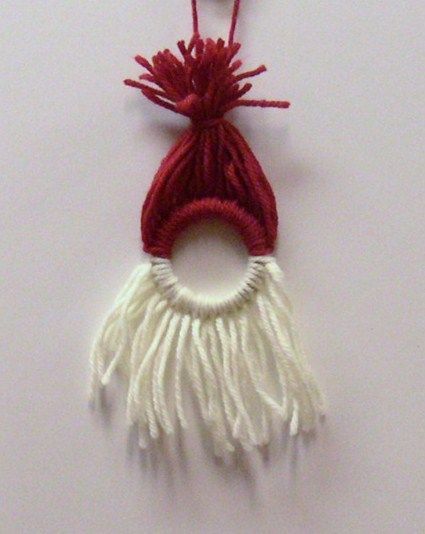
This is the idea photo I found on Google search. I can’t credit who came up with it because the photo didn’t take me back to a tutorial. (But I’d be happy to ADD a credit if that person contacts me.)
It looked straightforward to me: Knot yarn on rings, half white for the beard, half red for the hat, then knot the red to make a hat and add a hanging loop.
I decided to change mine up by increasing the size of the ring and playing around with yarn colors used for the hat. I’m guessing this is about a 1.5-inch ring. I wanted mine a tad bigger and ordered rings along with some other craft items from an online site in 3-inch diameter. The larger size worked, but I would eventually like to try 2-inch and 1.5-inch sizes as well.
ANYONE can make these, they don’t get your hands dirty, and they go together quickly even in 3-inch size.
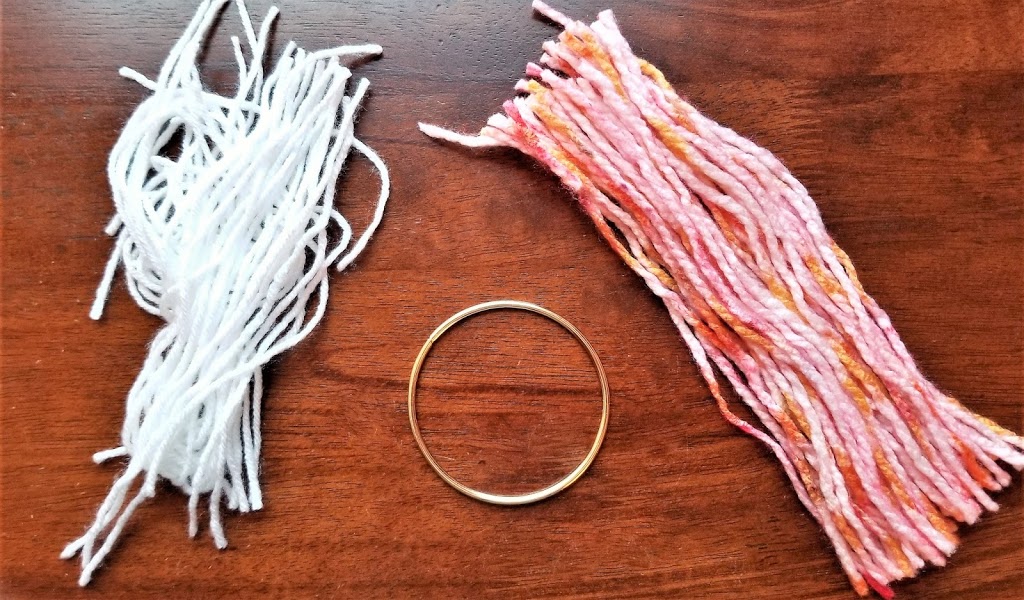
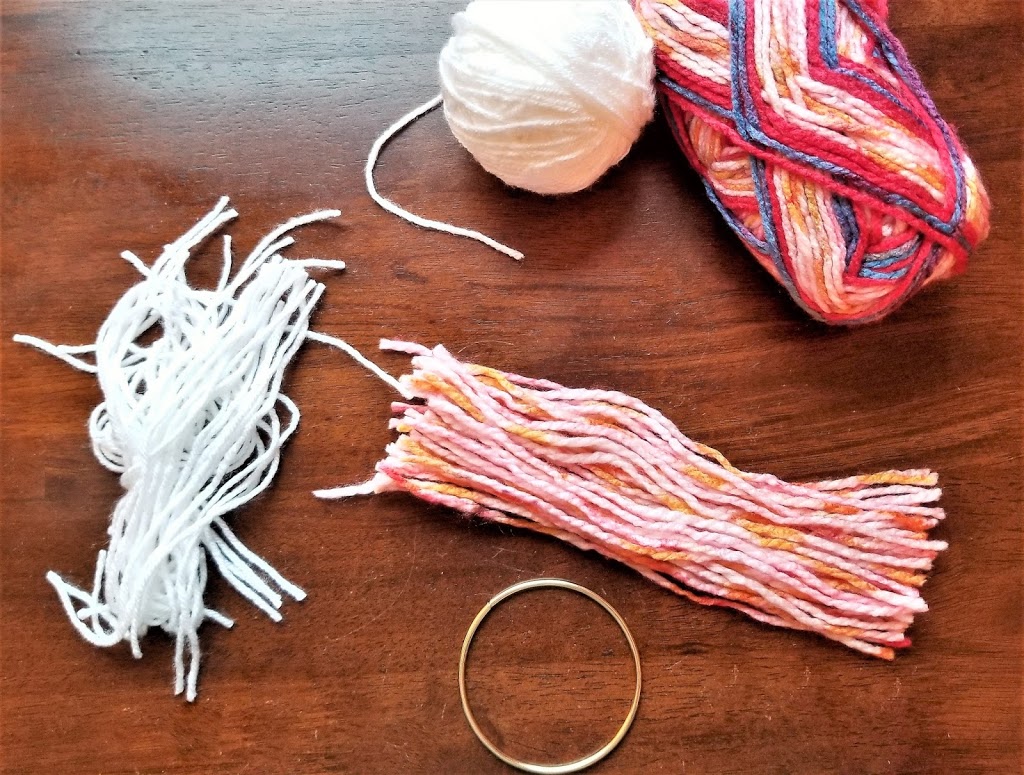
Everything you need…
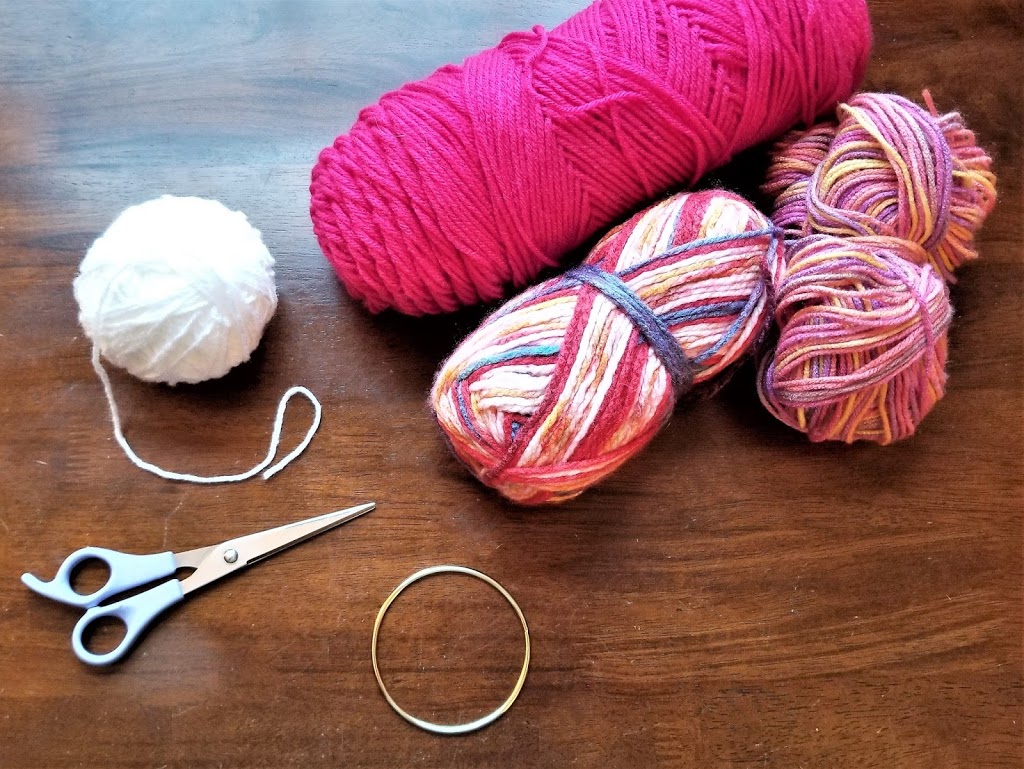
- White yarn for the beard and whatever colors you want for the hat
- Craft ring(s) in desired size (3 inches is shown)
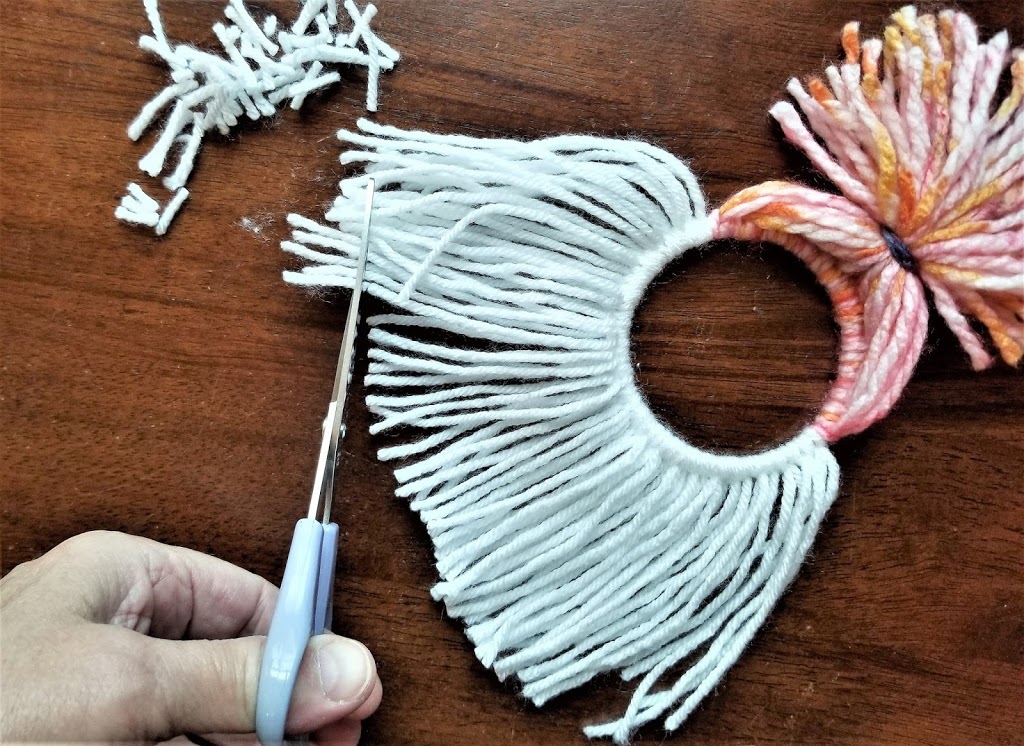
- Scissors
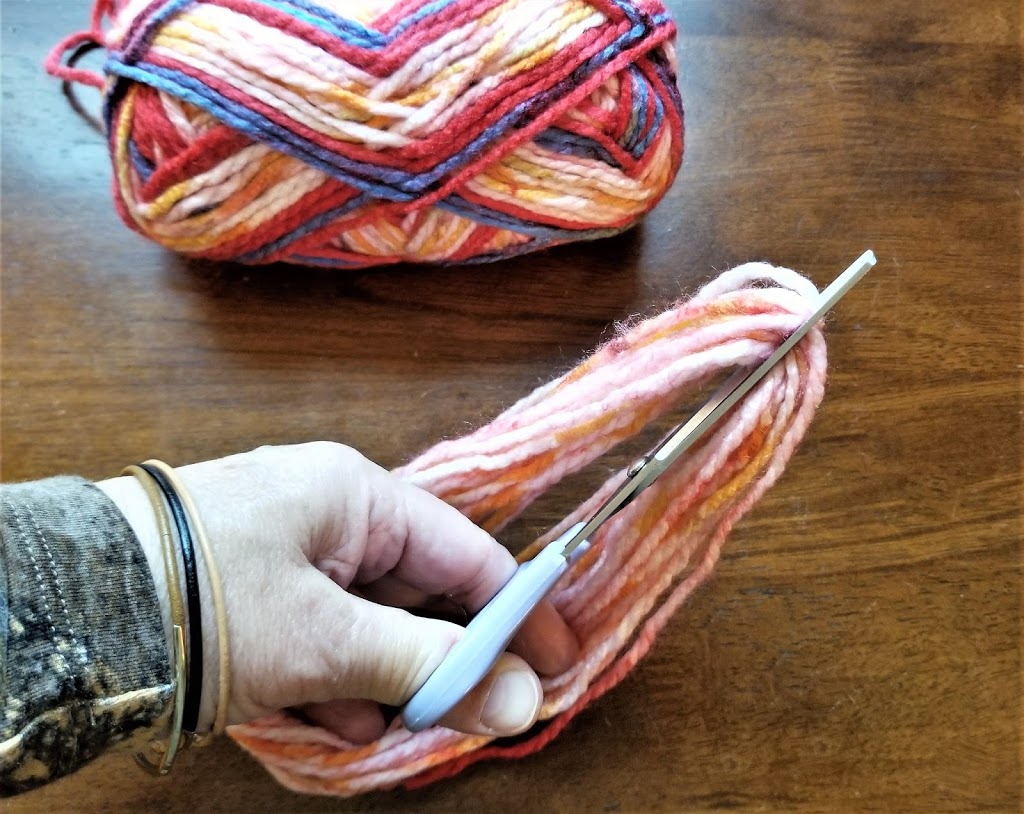
I did this for both the white (beard) and colored yarns (hat).
Planning your Santa’s ‘wardrobe’
For most of my Santas, I used the variegated yarn shown here.
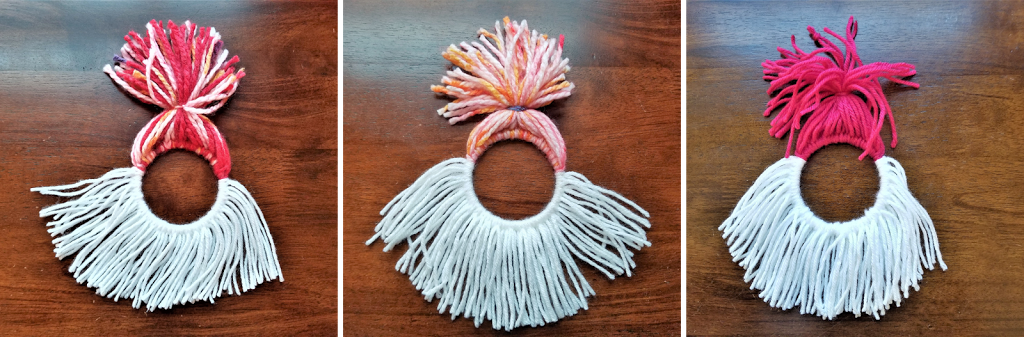
In some, I rotated the lighter pink and peach strands with the darker, rosy-colored strands (left). In others I used only the pink/peach strands (middle). And I did one with a solid dark rose yarn (right). You could also use bright red or any alternative color scheme you prefer—for the hat, that is. Santa’s beard needs to be white regardless of hat color, don’t you agree?
Making ‘knotty’ nicely
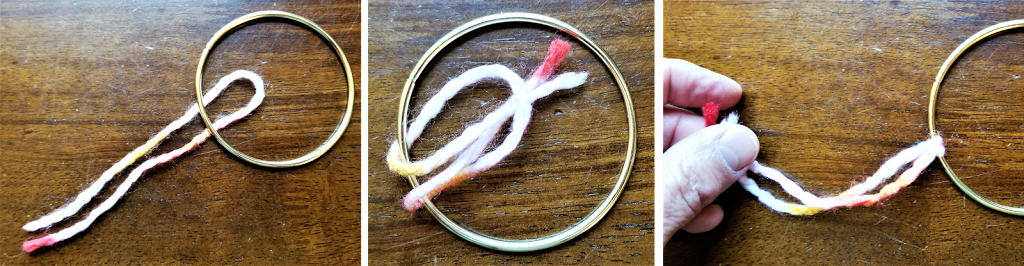
You only need to know how to do one basic knot to make this Santa. In macramé circles, it’s called a reverse lark’s head knot, which makes it sound a lot more complicated than it is. All you have to do to make it is:
- Fold your cut strand in half and tuck the loop under the craft ring (left).
- Then bring the two end strands over the top of the ring and through the loop (middle).
- Finally, pull the ends tight (right).
If you look at the other side of your ring, you’ll see what a lark’s head knot without the reverse looks like. Both are made the same way; you just decide which side you want as the front.
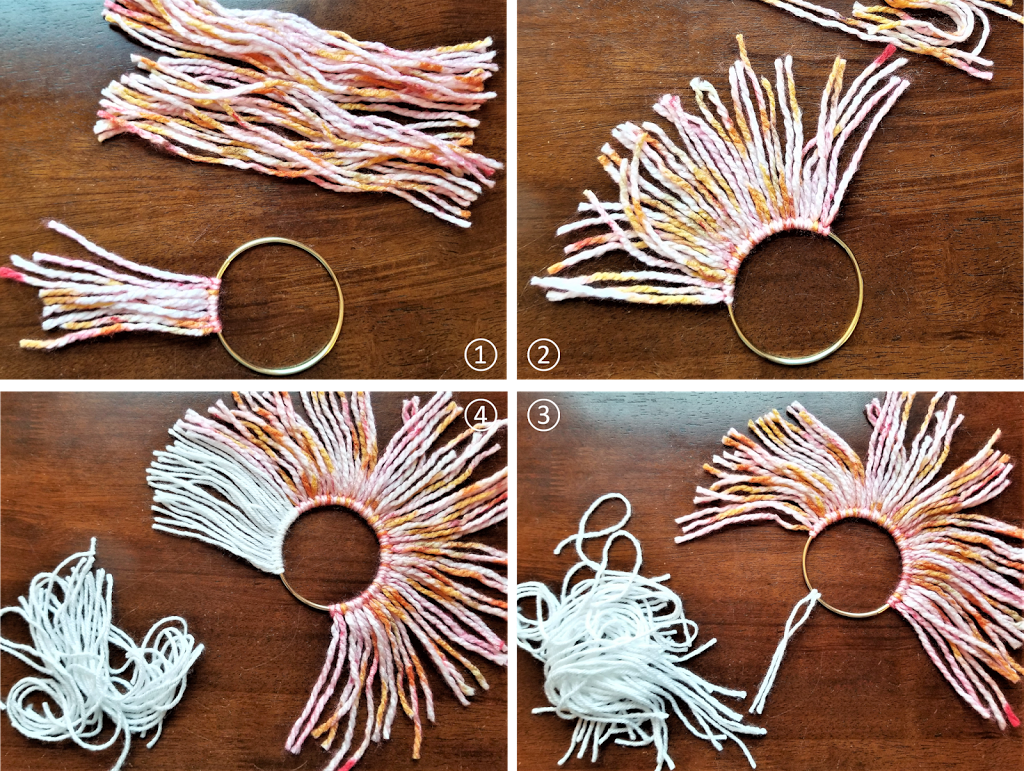
- Keep adding knots in your hat color (photos 1 and 2) until you fill up half the ring.
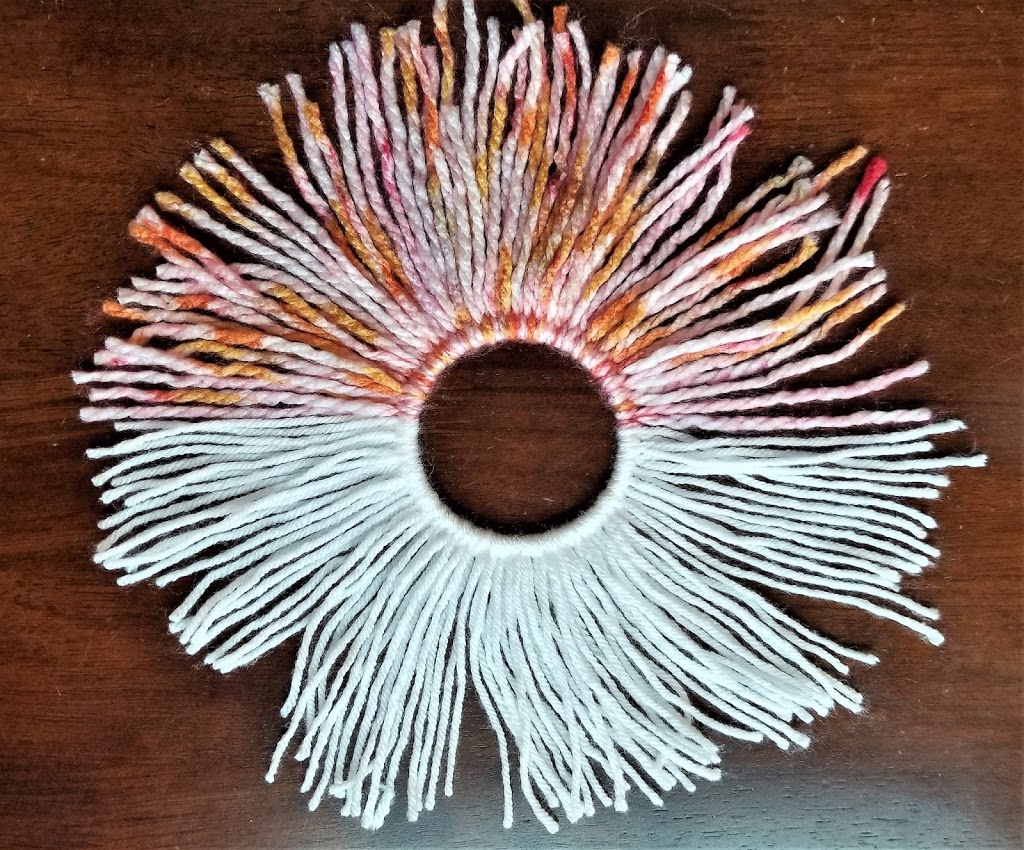
- Then switch to white knots for beard (photos 3 and 4) and keep knotting until you fill the rest of the ring.
The number of strands you need and the number of knots you make will vary based on the thickness and loft of your yarn, as well as your own personal preference. I prefer to err on the side of fullness. And since my beard yarn was thinner and less fluffy than my hat yarn, I needed more beard knots. My 3-inch rings required around 35 to 40 knots for beard and for hat.
‘Tying one on’ for Santa
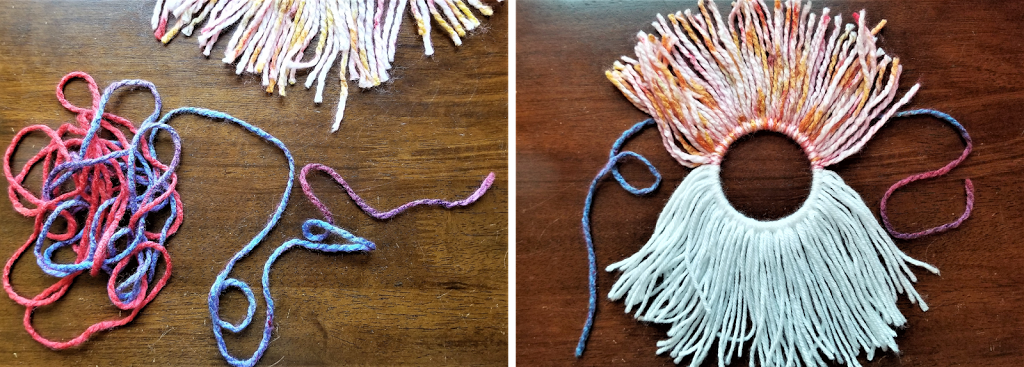
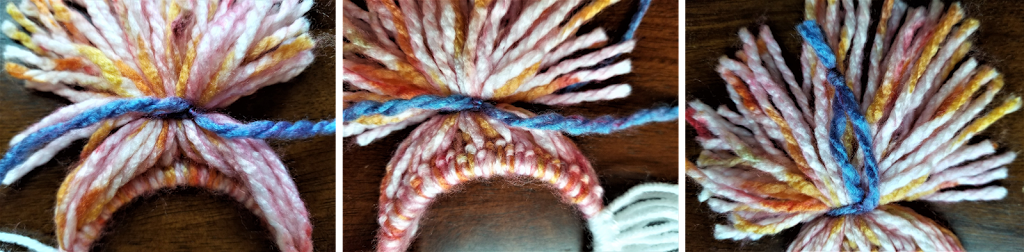
- I tightened the tie strand and knotted it (left).
- Then I flipped Santa over, pulled my tie strands around, tied and knotted tightly again (middle—note the visual difference of the lark’s head knots on the back).
- Finally, I made another simple knot in the tie strand to create a hanging loop and cut off the excess (right).

For now…

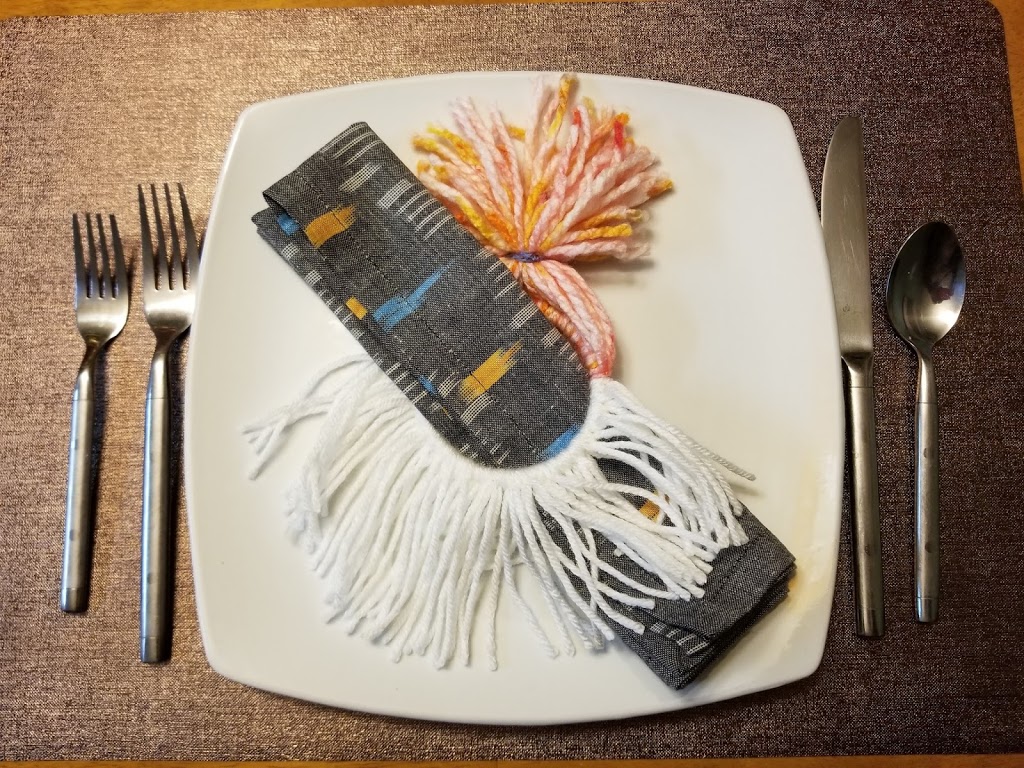
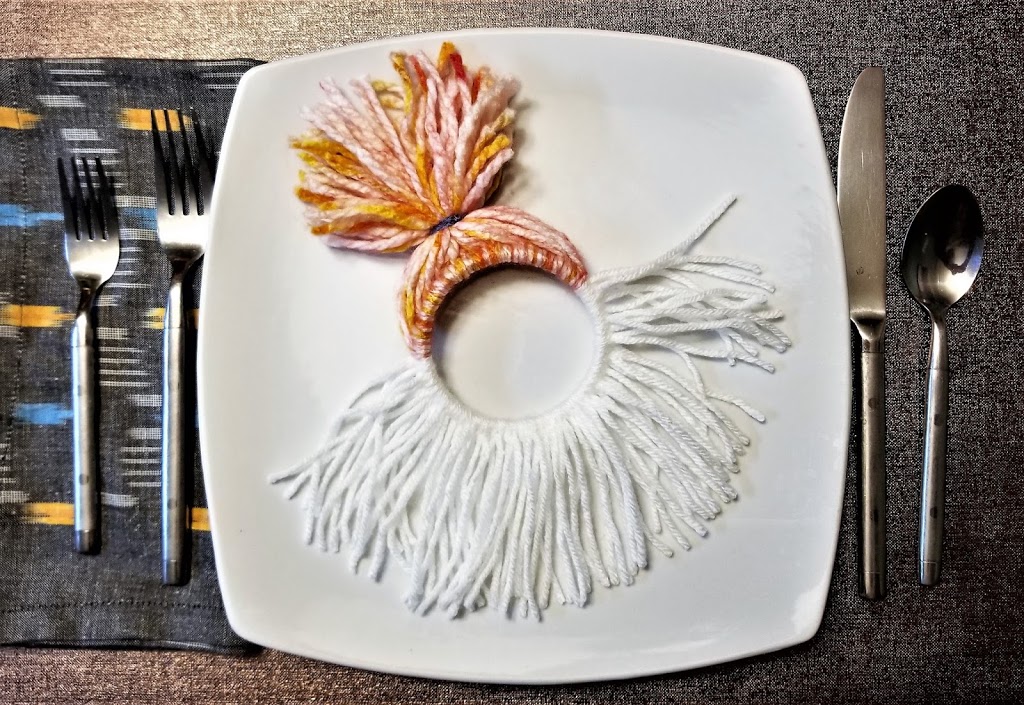
When we down-sized five years ago, we got rid of a lot of stuff, including the Christmas china. No room in a 1,400-square-foot condo for a service for eight that gets used only once a year. I even gave away the Christmas napkins and tablecloth! Now I use basic white dishes and table linens that work with my decor. That has meant I must find easier-to-store methods for making the table merry and bright for the holidays. This year, these sweet little Santas do that very trick for me.
XOXO, Susan
If you want more…
- Shop (and follow!) both my Etsy and ebay stores for vintage finds, a few of my boho DIYs, and next-to-new surplus home decor. New merchandise gets added regularly, so check both places often.
- Sign up to have BoHo Home posts sent to your inbox using the subscription link in the sidebar (top right). Or follow with Bloglovin, a social-media platform that allows you to set up an account and access all the blogs you want to read in one place.
- Find additional content from BoHo Home on Facebook, Twitter, Tumblr, Pinterest, Instagram, Google+, and Houzz, and give me a follow EVERYWHERE!! The more the merrier at this very merry time of year!