

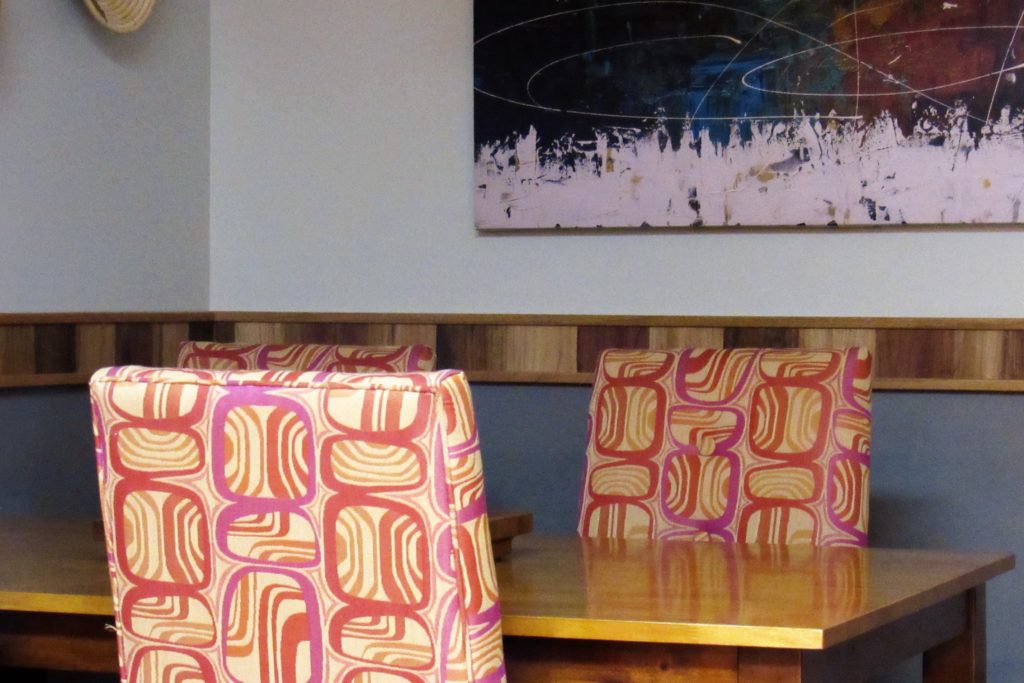
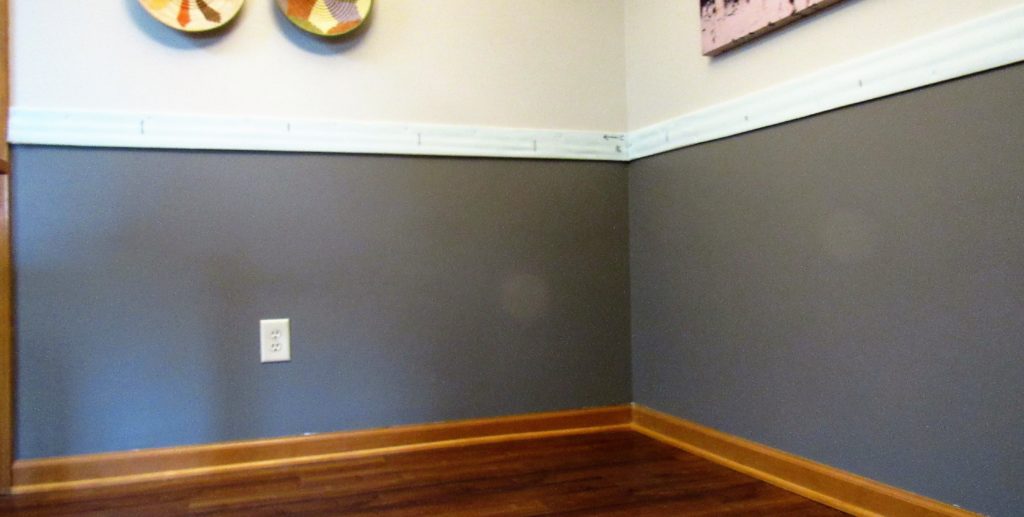
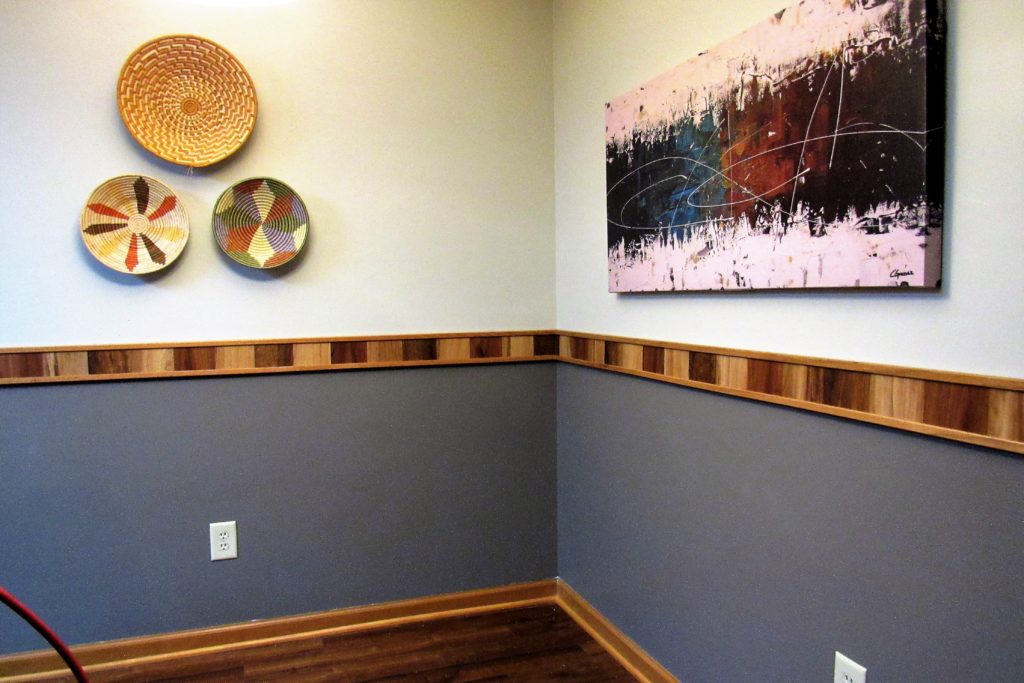
In a previous post I said I dreamed of a built-in banquette in my dining area. And that may still happen SOME DAY, but for now I’ve settled for repositioning my table against one wall, to simulate a banquette, and adding a chair rail to give the space more of a restaurant booth definition.
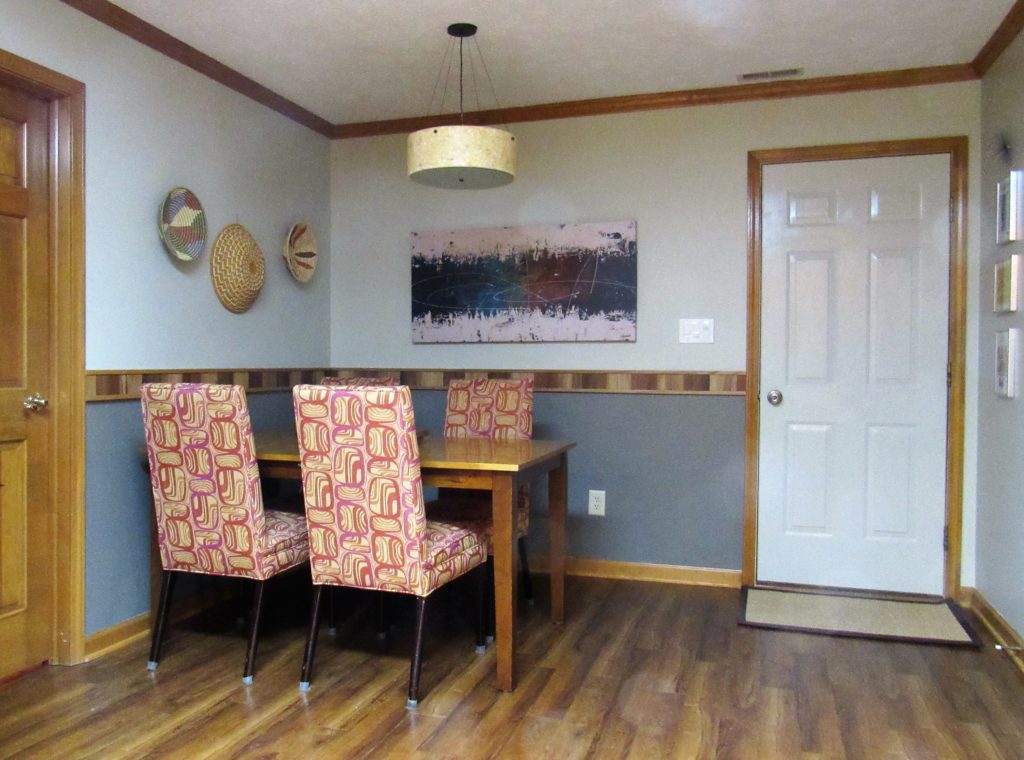
But, as you can see, MY chair rail is not just any stock molding makeover. Husband Chris and I put our creative heads together (and his woodworking skills) to design and build this one-of-a-kind chair rail. To me, it absolutely gushes midcentury modern, though I’ve never really seen anything like it in any century.
How did we make it? From flooring samples, prefinished oak corner molding, and a plywood backer board. The flooring samples were free, and the other supplies cost us about $40.
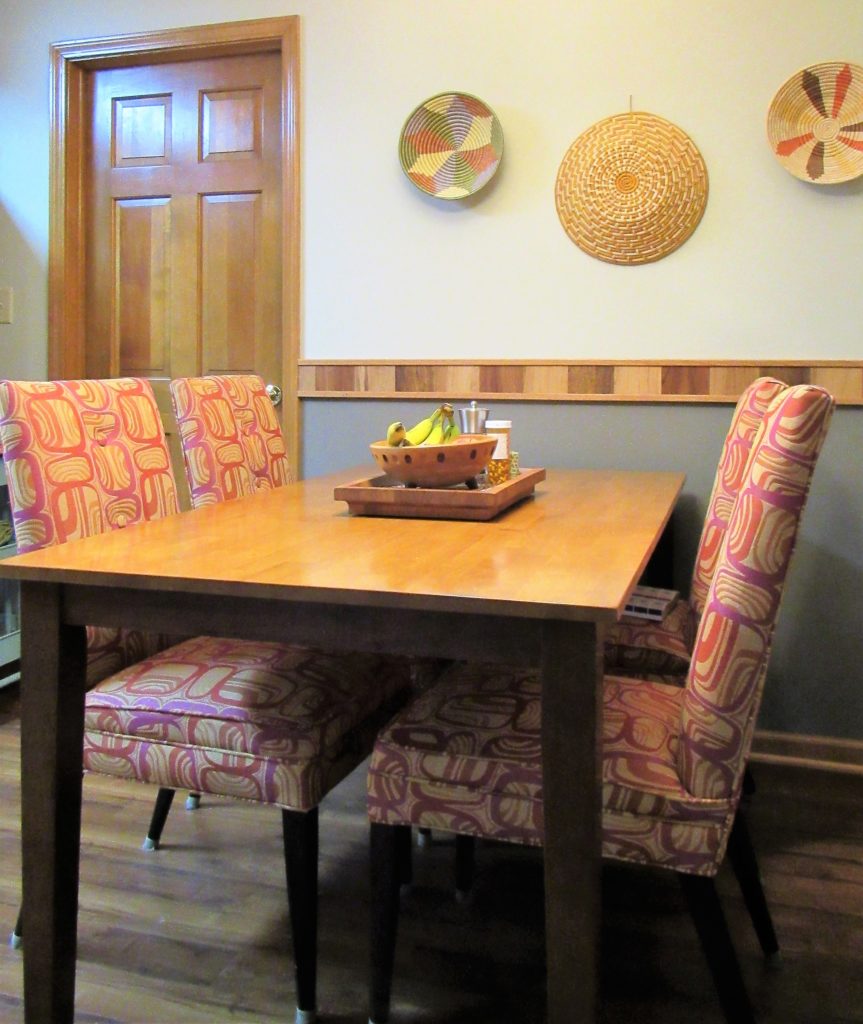
All-in-all, this chair rail has made me fall in love with the rest of my 1980s golden-oak kitchen because it’s unified all the wood tones and made them pop. The darker gray paint below it–Valspar Empire–helps, too, by toning down the ginger in the oak. Positively magical!
Brainstorming
We knew we wanted to put a chair rail in this spot, but I didn’t want a traditional look. The condo is midcentury modern, as is most of our decor, so I wanted something with a retro edge. We considered metal tiles, building up a unique molding from stock pieces, and even ceramic before settling on this.
In the process of exploring possibilities, we picked up different samples of luxury vinyl flooring–not thinking they were a possibility for our chair rail but because we were curious about their durability and wanted to take samples home to test out. In the process of beating them up, I happened to lay a few different finishes together–they are all tongue-and-groove, click-and-lock–and asked hubs what he thought about making them into a chair rail.
He loved the idea, but then came the tough part: figuring out how to mount the samples on the wall and trim the top and bottom. He thought that one through for a couple months while I made the rounds of about four locations of the same big-box home store in our area collecting all the 35 tiles (plus a few extra) we’d need.
I originally wanted a metal edge top and bottom, and we explored several possibilities before settling on the prefinished oak corner molding. Cost was a factor, as well as attaching a metal edge to both wall and tiles in a durable fashion. The prefinished oak corner molding could be easily surface-nailed with finishing nails and was inexpensive–about $7 for an 8-foot length.
Putting together the pieces
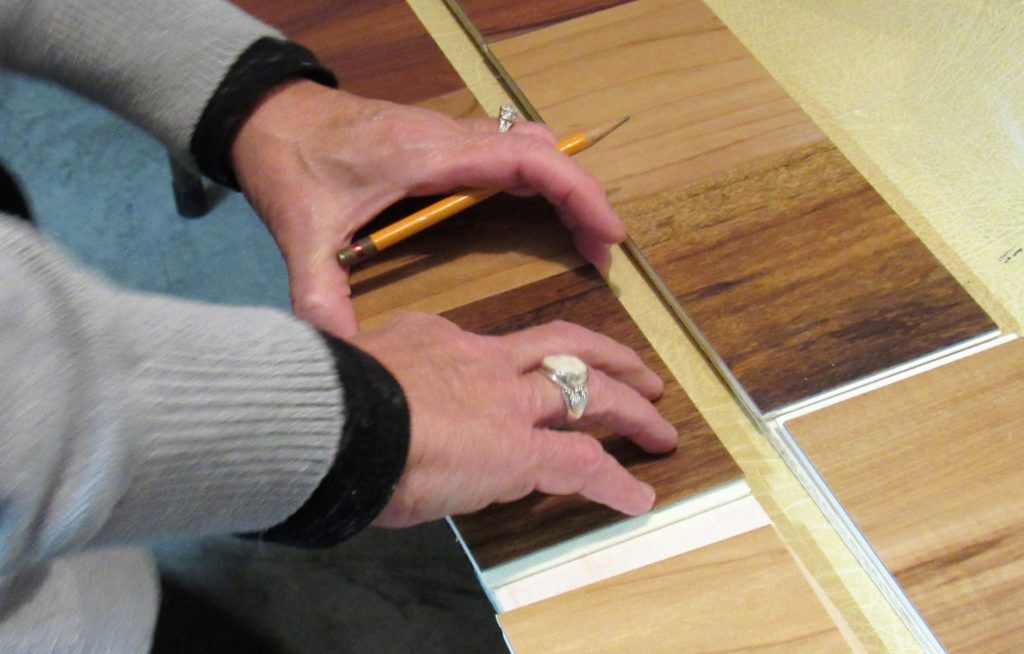
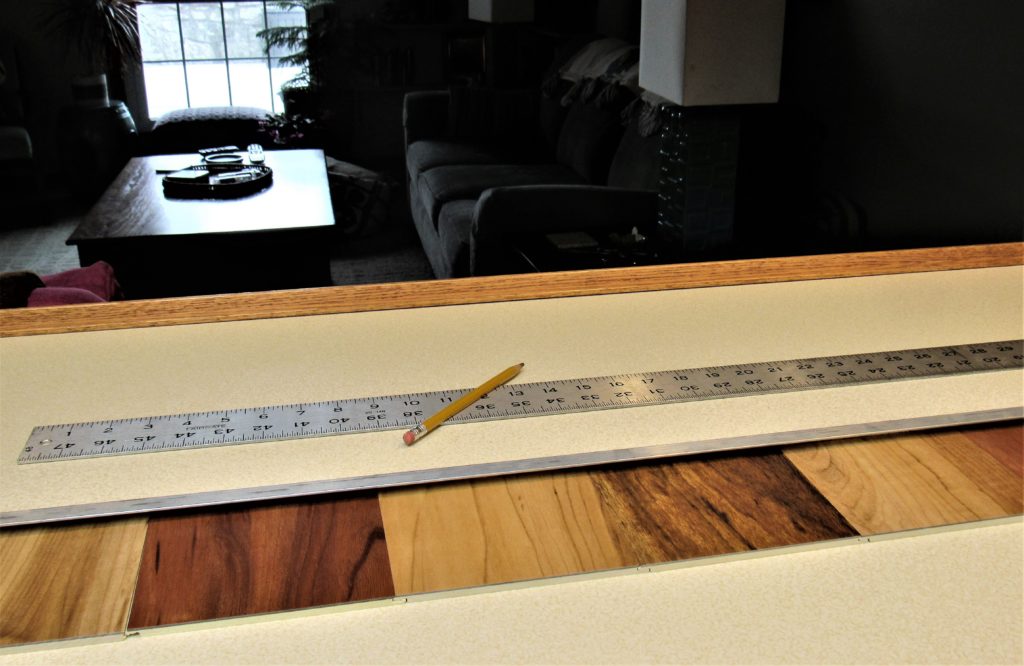
One of the first tasks was deciding on a pattern. I liked the look of more than one wood finish, and I brought home samples in all the woods offered in the brand we decided on to see what looked best with the woods currently in the kitchen.
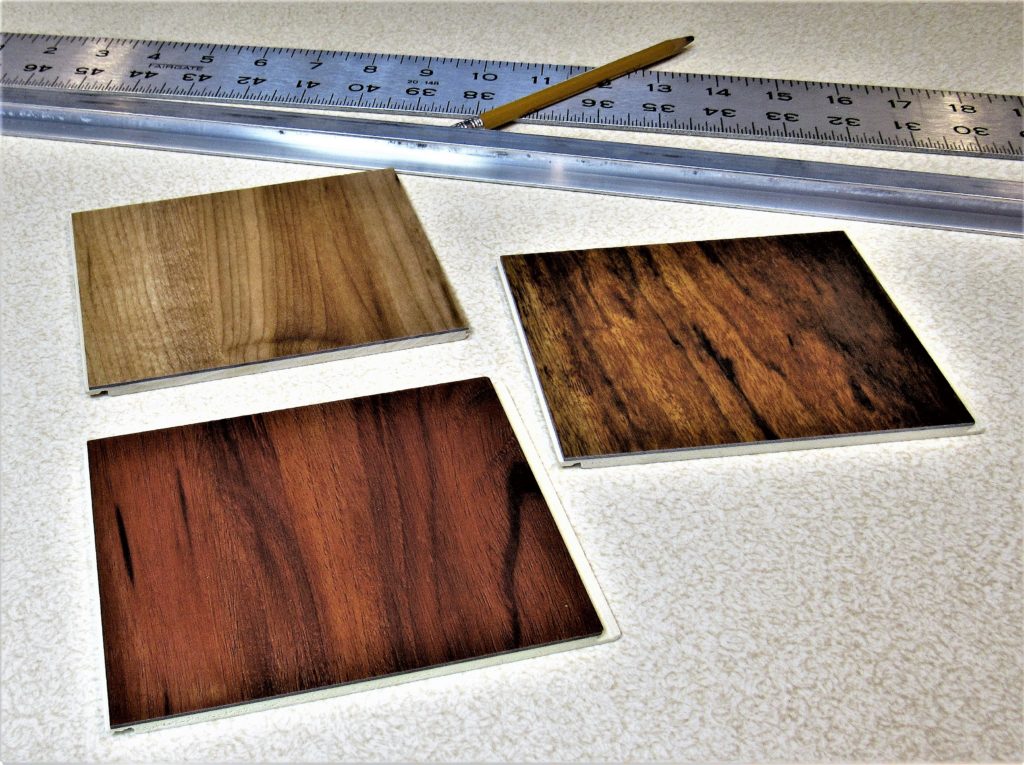
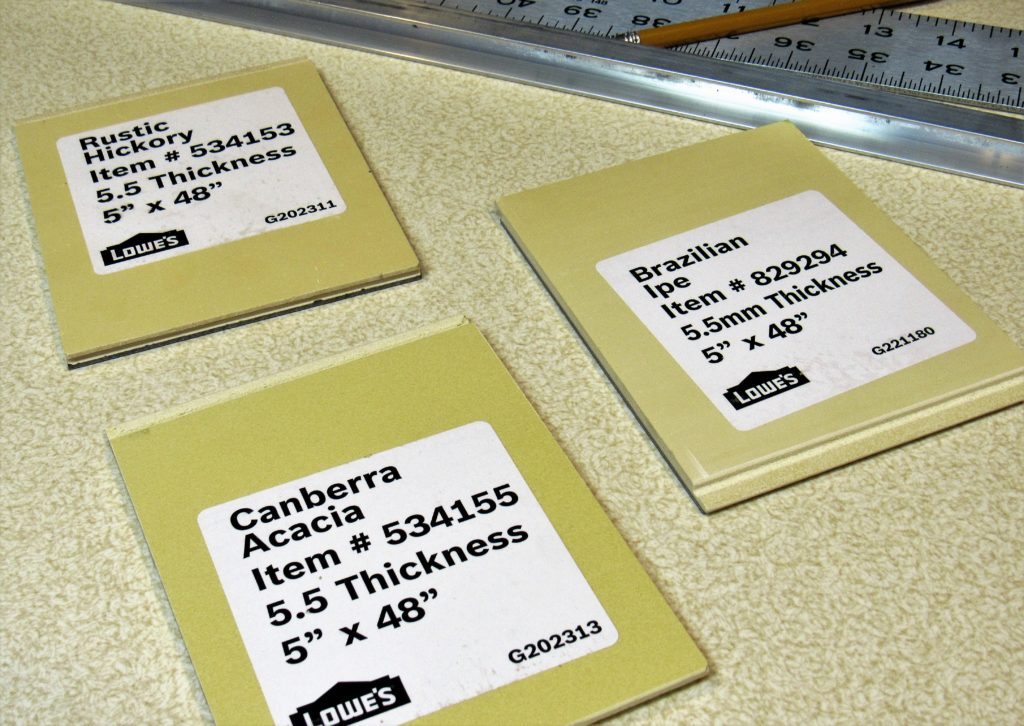
I settled on three tones from the Smartcore Flooring series–Rustic Hickory, Brazilian Ipe (also known as Brazilian walnut), and Canberra Acacia (resembles teak in coloration). Teak and walnut were used a lot in midcentury modern, and the light and dark variations of the hickory helped blend the two darker woods into my existing kitchen.
First I tried simply repeating them, but the overall effect seemed a bit dark. Each of the two darker samples (ipe and acacia) stood out better with a lighter hickory tile between, so I ended up with a pattern of hickory, ipe, hickory, acacia, hickory, ipe, hickory, acacia, and so on.
The samples were 5-inches wide, so for my two walls–one about 6.5 feet and the other about 7.5 feet–I needed 17 hickory samples, and 9 each of the acacia and ipe. I picked up a couple extra tiles in each finish in case of defect or breakage when cutting.

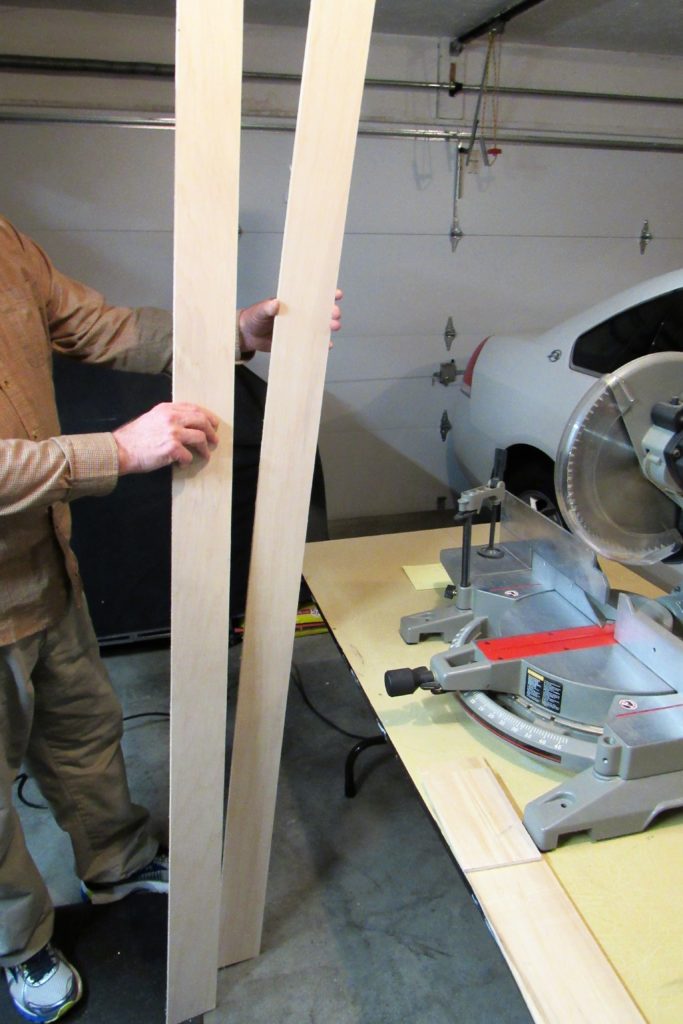
The first step was to cut the plywood handi-panel (2-by-8 feet) into mounting strips for the flooring samples that would fit our walls. Hubs used a jigsaw to rip the strips from the panel and a mitre saw to trim the excess from each strip.
We ended up with these, which we then prefit onto the wall.
When we laid out our samples on the backing and dry-fit the molding, we had a small gap. We filled that with a layer of mailing foam, which we stapled in place. Then we leveled each board in position and nailed it in place.
It’s on projects like this you’re glad to own an air compressor and nail gun, believe me, because there’s lots more nailing to come!
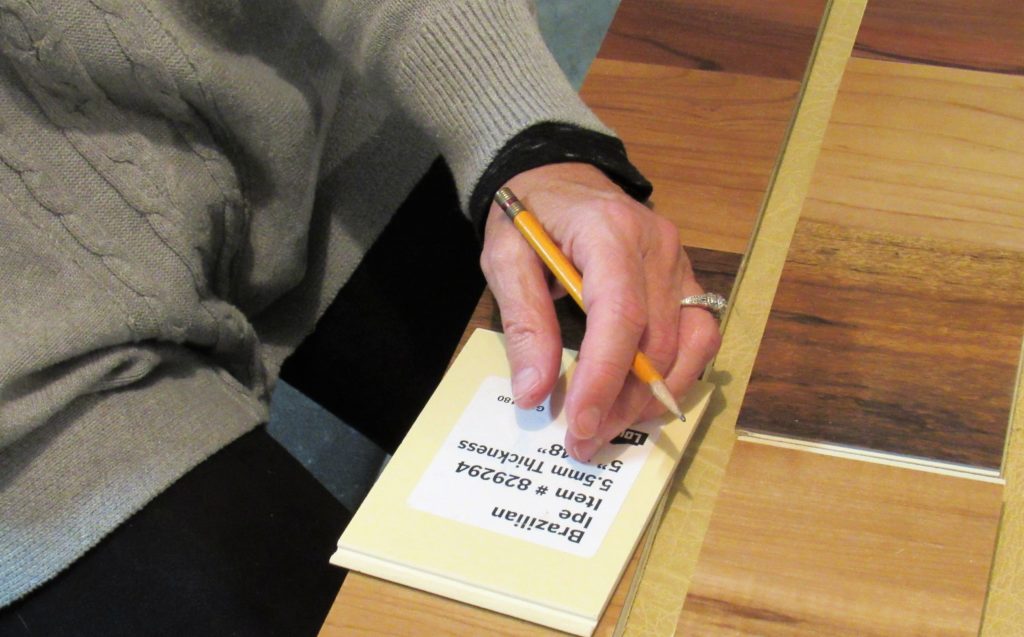
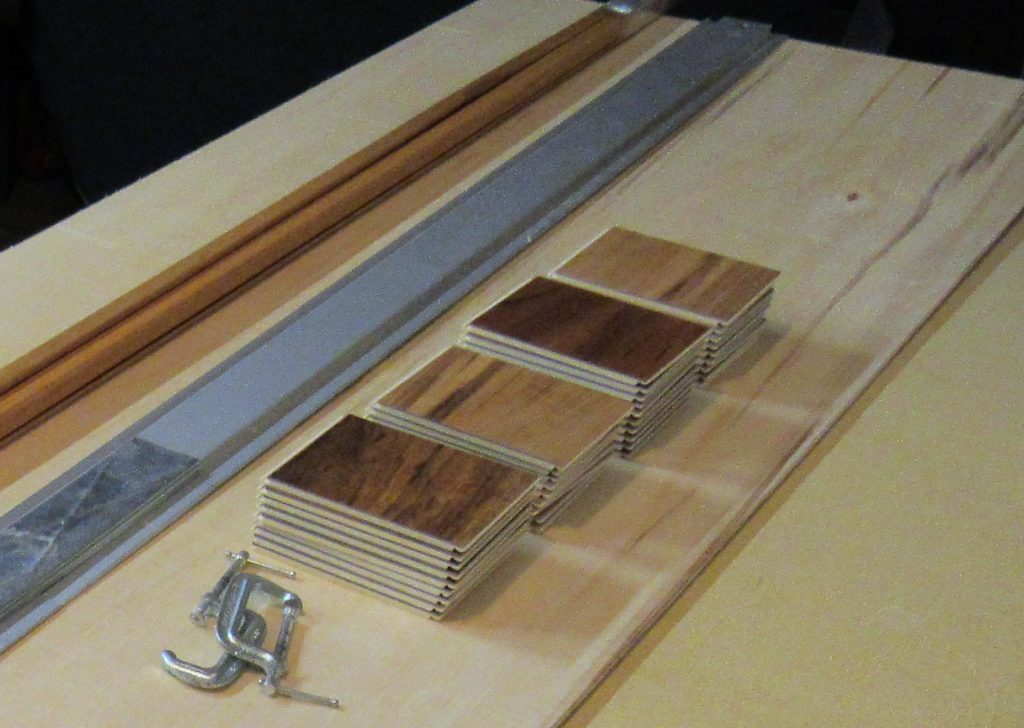
Before moving on to nailing the interlocking samples onto the backer board, I laid out the pieces and made sure each tongue-and-groove joint fit together snugly. Then I labeled the back of each piece, indicating which wall it went on and its numeric position.
I then reassembled each line of samples on our kitchen table. Meanwhile, Chris cut the bottom moldings to fit. He held one wall molding in place while I positioned the connected samples. Then I held molding and samples in place against the backer board while he face-nailed through molding and tile. With the bottom moulding and the tiles stationary, Chris then nailed the tiles near the top in areas that would be covered by the top corner moulding, which he then cut and face-nailed into place.
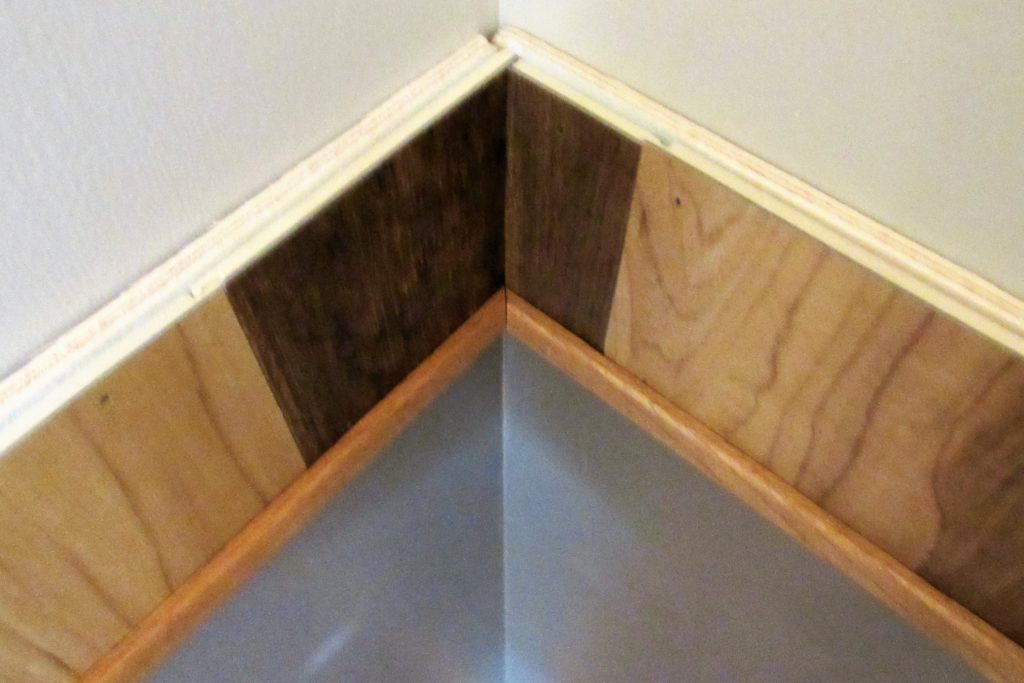
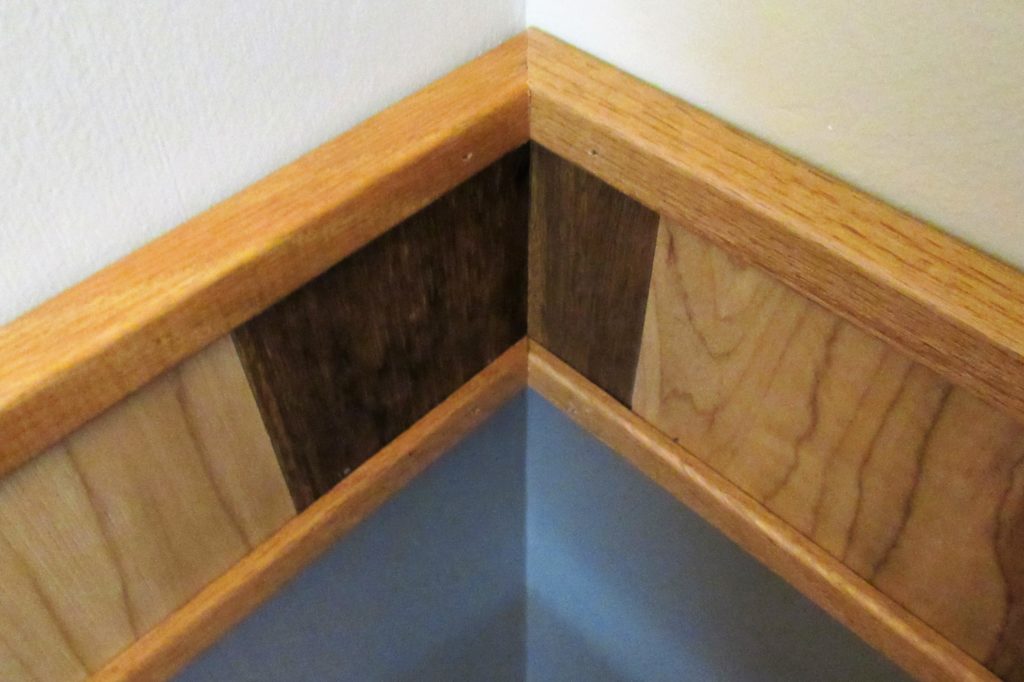
The corner where the two walls meet–and thus the chair rail–was a bit tricky. We simply lapped the backer board. The ipe tile that spans the corner is actually two lapped pieces cut to the approximate size of one sample tile, which gave it a clean and consistent look. The top and bottom corner mouldings were, of course, mitered.
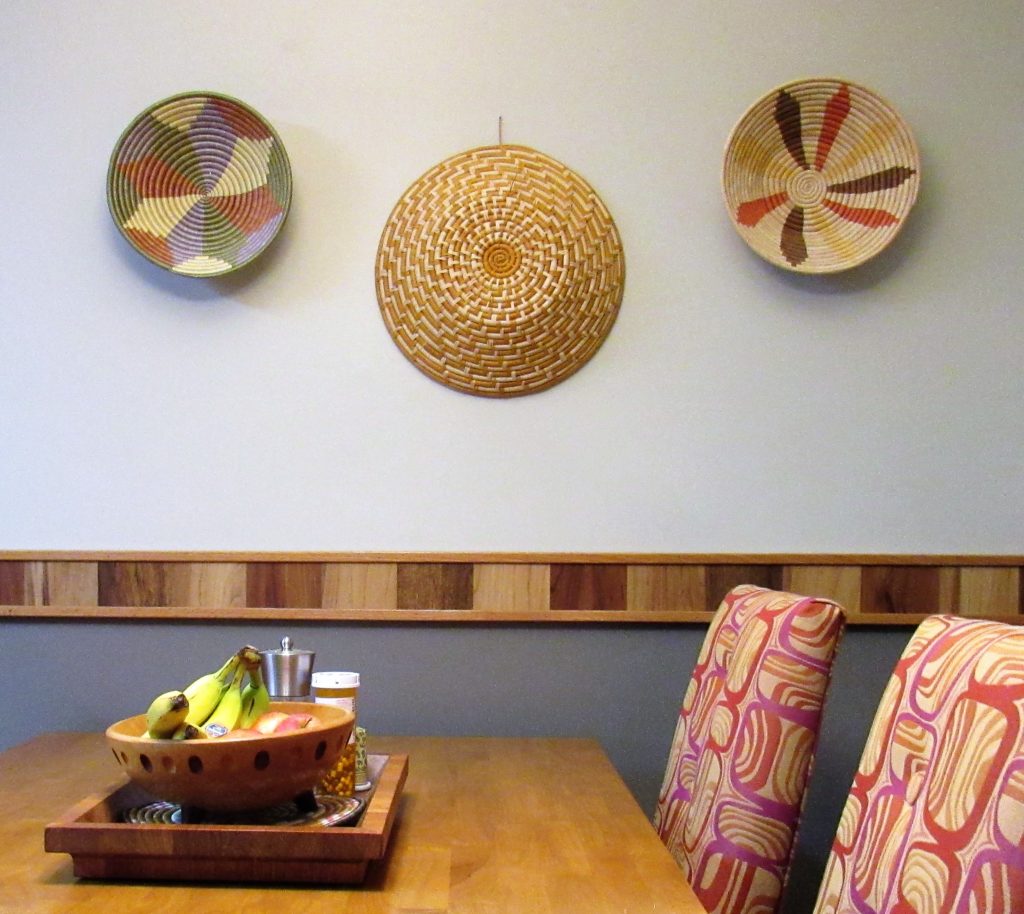
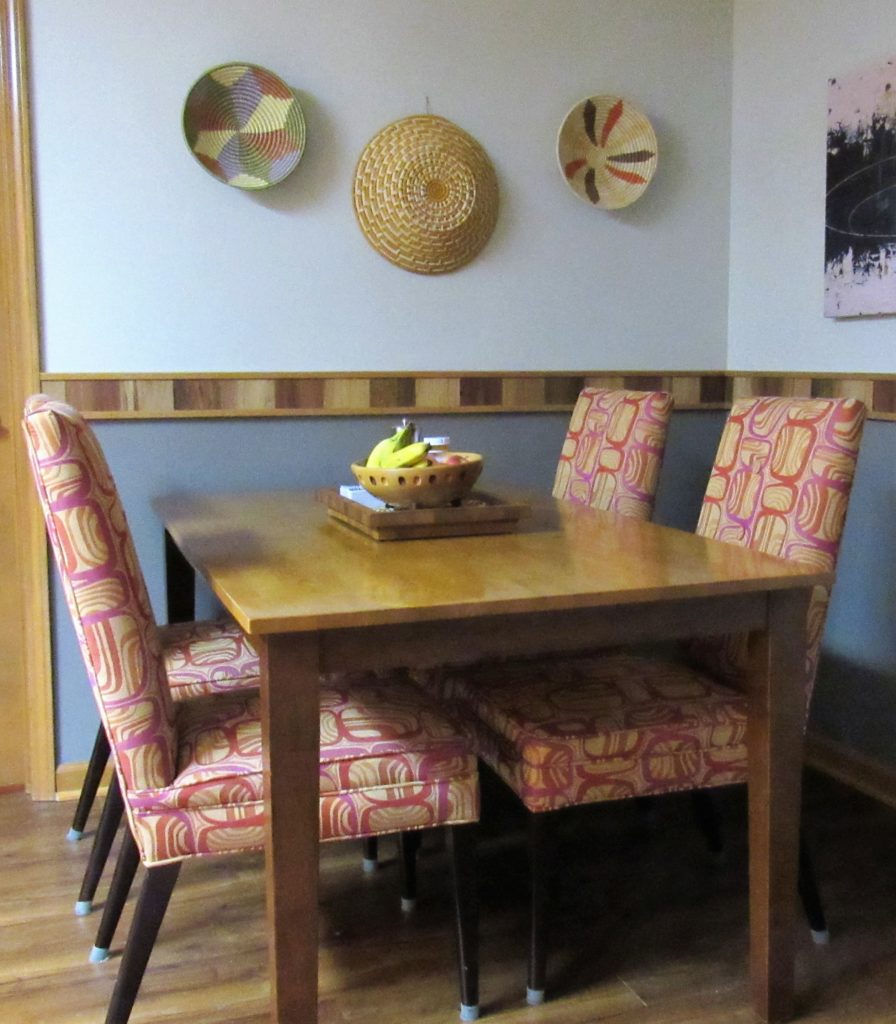
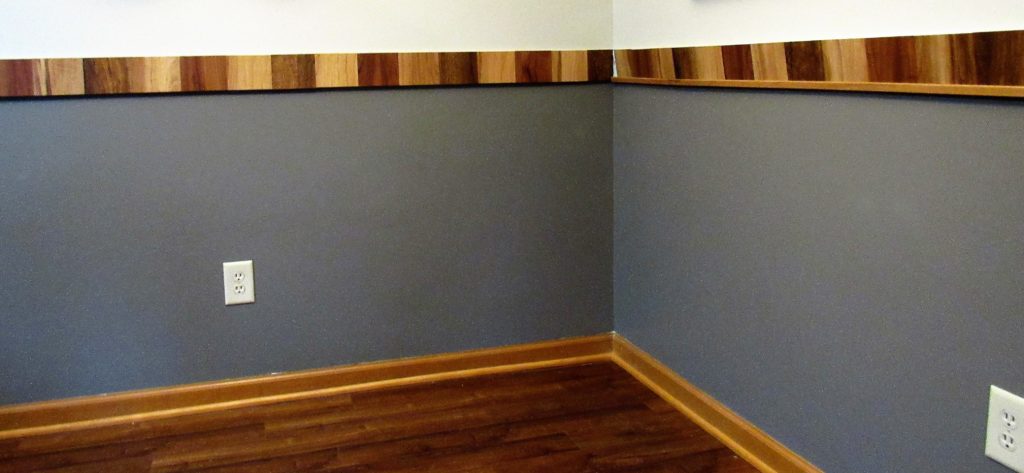
And this is what we ended up with! (Please excuse the air compressor tubing in the lower left).

And dig that MUY PERFECTO corner!!
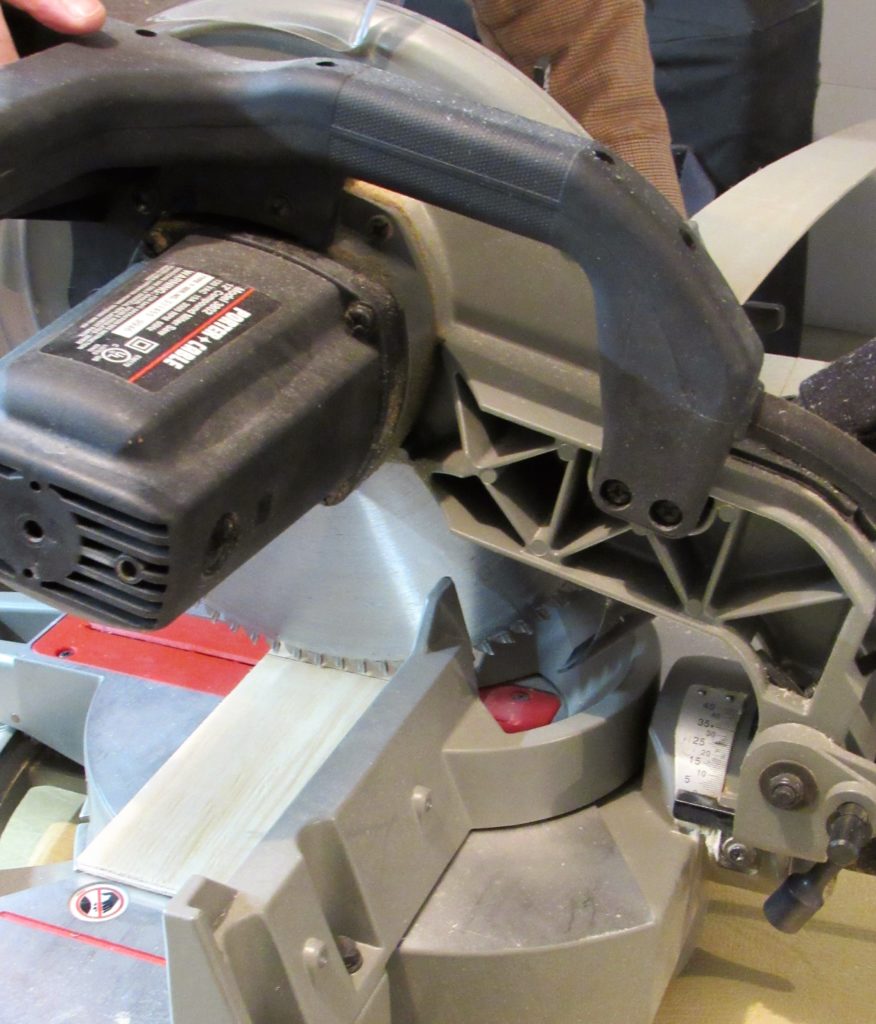
If you try this project, plan out ahead of time how you want the sample tiles to look at both ends and in the corner and cut custom pieces to fit. Luckily, our mitre saw cut the Smartcore flooring beautifully.
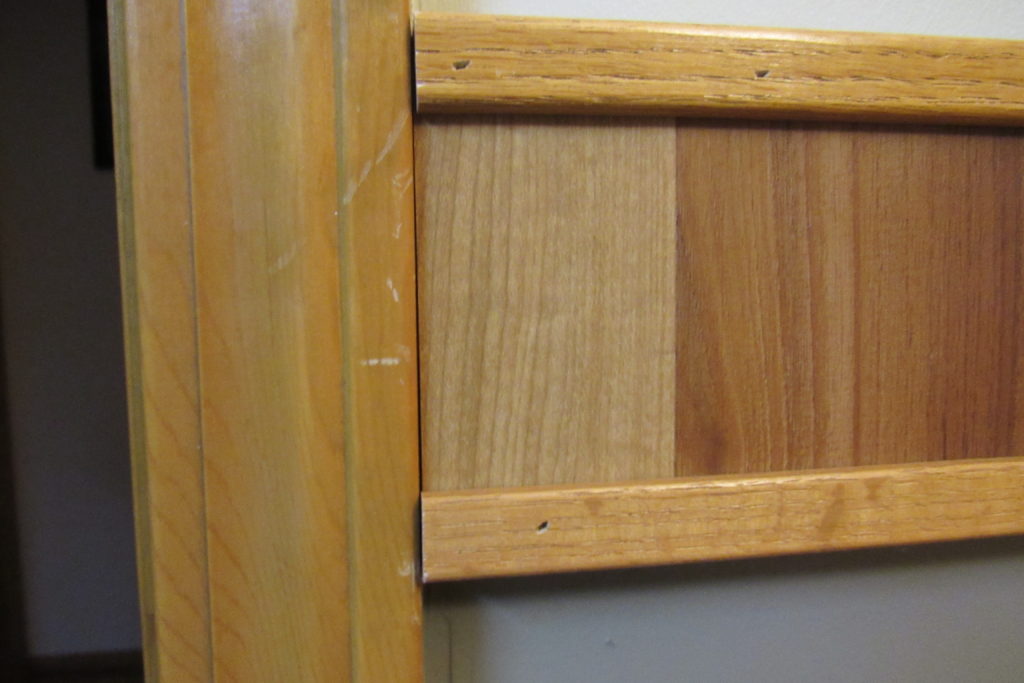
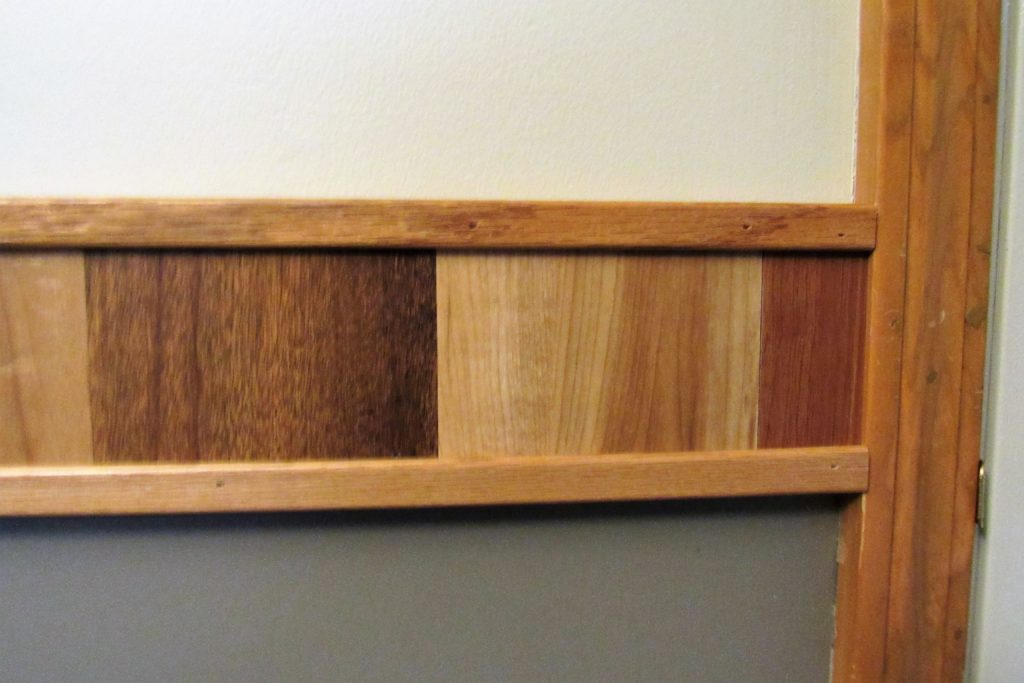
We also measured beforehand and knew the profile of our finished chair rail would extend just a smidge beyond the door mouldings. We tested out a few different ways of finishing this area–sanding off the molding edges, trimming them at a diagonal, or building a mitered multi-piece return. But in the end, we decided simply butting them against the moulding looked the best and caused the least headache.
All-room paneling is ubiquitous with the midcentury era but can be a bit dark, particularly in an area like my dining room, which is starved for natural light. Whole-wall paneling can also look tacky if it’s fake, which much of it was by the time it went out of fashion.
Yes, this chair rail is partly made of fake wood. We considered using actual wood flooring samples instead, but we honestly liked the tones in this durable Smartcore flooring BETTER, and the samples were free, whereas you had to buy wood ones.
These are also lighter weight–a definite plus when you’re nailing 34 of them to a wall. And I don’t think they LOOK fake either. I think this chair rail echoes the beauty of a richly wood-paneled room without the dreariness.
Furthermore, this chair rail has seduced me. I’m now head-over-heels in LOVE with the kitchen I have! And I can see the chair rail and appreciate it from everywhere in my condo except the bedrooms.
If you want more…

Next post I’ll show you how we used peel-and-stick tiles to spiff up the area around our range hood. After that, look for a rundown on projects in the works as soon as the budget and time allow, including a peek at the gorgeous mid-mod-mad Formica I have picked out for my countertops!
Oh yeah…There will also most likely be more pictures of the Mazester, so stay tuned!
